How to Clean an Engine Bay Like a Professional
One of the most sensitive parts to clean on a car is the engine bay. Engine components such as the alternator, the ECU, switches, and air intake can be damaged if properly cleaned. A dirty engine makes the car look like it is not well maintained and it can be hard to notice any issues early such as oil leaks, so leaving it dirty is not an option either.
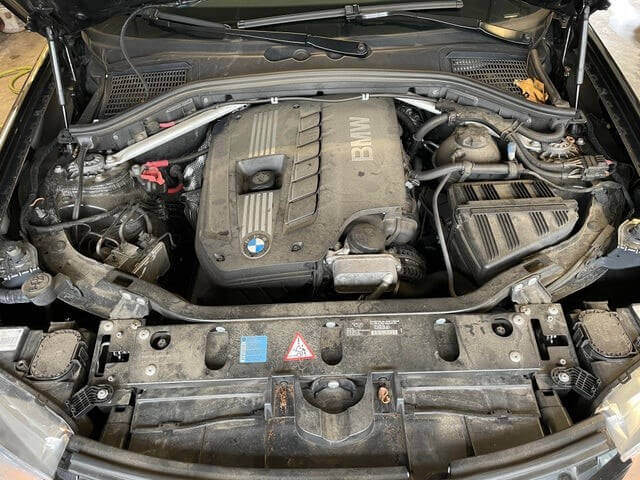
Table of Contents
Step 1
Check how dirty your engine bay is so as to inform your course of action when cleaning it. If it is filthy then aggressive cleaning will be done using water, if slightly dusty then a simpler approach will suffice.
Step 2
The majority of the dirt inside the engine bay is made up of dust and engine oil, so to clean it effective degreasers and soap will be required.
For a simple clean we will begin by using a blower. Make sure to wear a mask and gloves when doing this. Blow the engine bay off all dust, and blow all areas thoroughly. This gets rid of all loose dirt and makes it easier to proceed to the next stage. Blow the engine for 5 to 10 minutes depending on the contamination level.
Step 3
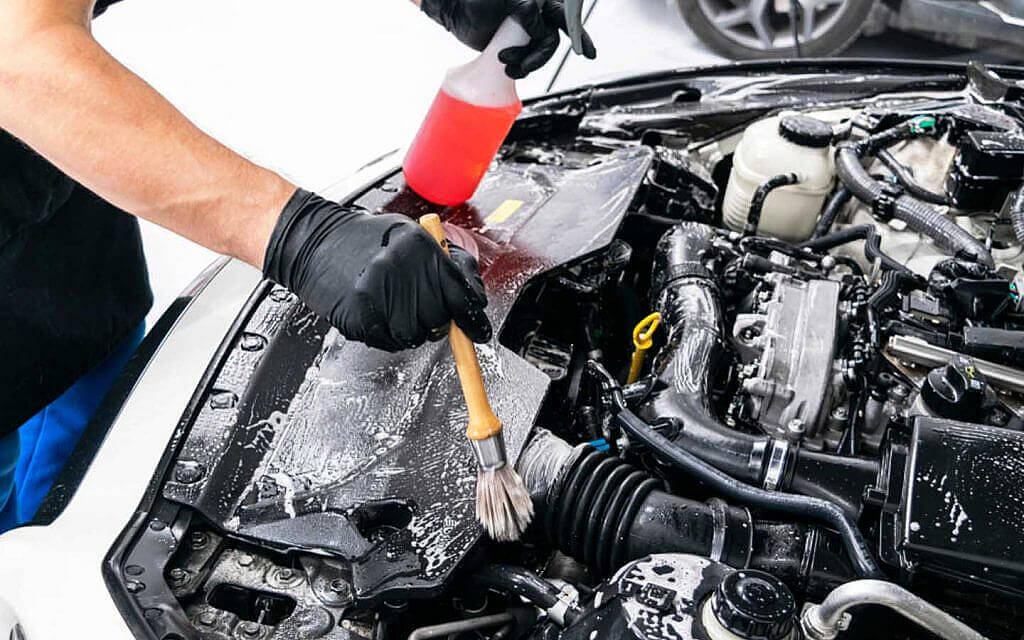
Use plastic bags or cling film to cover all the sensitive areas. These include the alternator, the battery, the ECU, the air intake, and electrical switches.
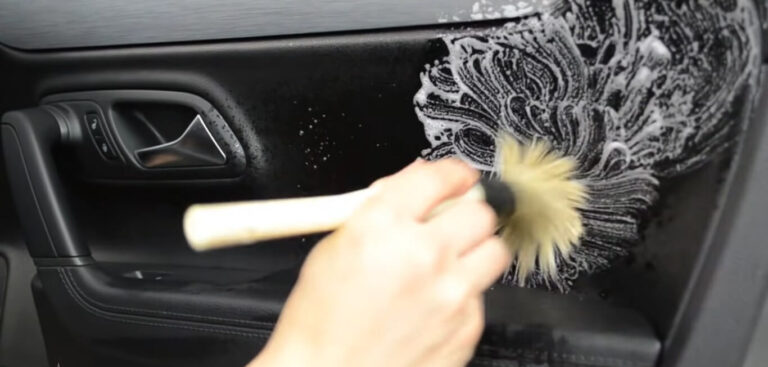
Mix all-purpose cleaner and water in a ratio of 1:10 in a spray bottle and spray the entire engine bay. Take a soft bristle brush and brush all areas in circular motions. Divide the engine bay into sections and work on one area at a time.
After brushing depending on the dirt level you can either wipe or rinse down the dirt with water. Although a pressure washer is good at cleaning the exterior of the engine we prefer to be accurate when using water so a simple hose pipe or pouring water will be adequate. Rinse the dirt thoroughly and move to the next area.
For a less grimy engine instead of using water wipe the engine clean and proceed to the next section.
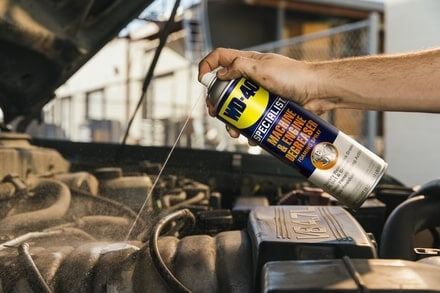
When dealing with oil stains spray the degreaser first, let it sit for a minute then proceed to brush then rinse with water. If the degreaser is not enough then the best solution is always to use WD40.
It is commonplace to find engines with covers, in order to clean them effectively remove the engine cover and clean underneath. Do not use water in the area, spray your brush rather than the engine and agitate all areas and wipe clean.
Step 4
After cleaning the entire engine by repeating Step 3, blow the engine again. This time it is to remove moisture from the engine. Remove all the plastic bags and cling film used and wipe the surface underneath.
After blowing I like to start the engine and let it run for a few minutes to confirm that all is well and no faults are visible. This also helps in drying the engine as well.
At this stage the engine is clean and dry and can be left as is, I like to go further and use dressing on the engine. The plastic dressing restores the color and helps in the aesthetics. Apply the dressing using a microfiber towel, do not apply too much as this will attract dust. Make sure after application the surface is dry to the touch.
Congratulations your engine is clean and looks brand new again. This process will work for most cars, but for those that require more work please visit a professional garage or detailer near you.