The leading authority on headlight restoration
Headlight Restoration Services
This venture began by solving restoring my faded headlight first and then finding the best way to restore headlights like NEW. After trying many techniques any years of testing our solution combines the best methods to ensure that headlights are restored to new ones and last as long as possible.
What we offer
- Improve visibility at night by 70% scientifically verified by AAA in December 2018
- Save thousands by restoring your headlights rather than buying new
- Expert experience of more than 8 years. Our business was started in 2016
- Highest rated headlight restoration business on Google
- Improve your car’s appeal and value
- One year warranty on our service
- Free Samples available
- Free Consultation
- Mobile Service available at a Fee
- Free DIY tutorial on our process below
Our website allows us to get clients as well as disseminate information on our expertise and help other car owners restore their headlights. You can read about headlight restoration, restoration kits, and our blog to find the best way to restore your headlights. If you would like to use our services, then contact us or click the WhatsApp button on the right below.
Location
Customer Reviews
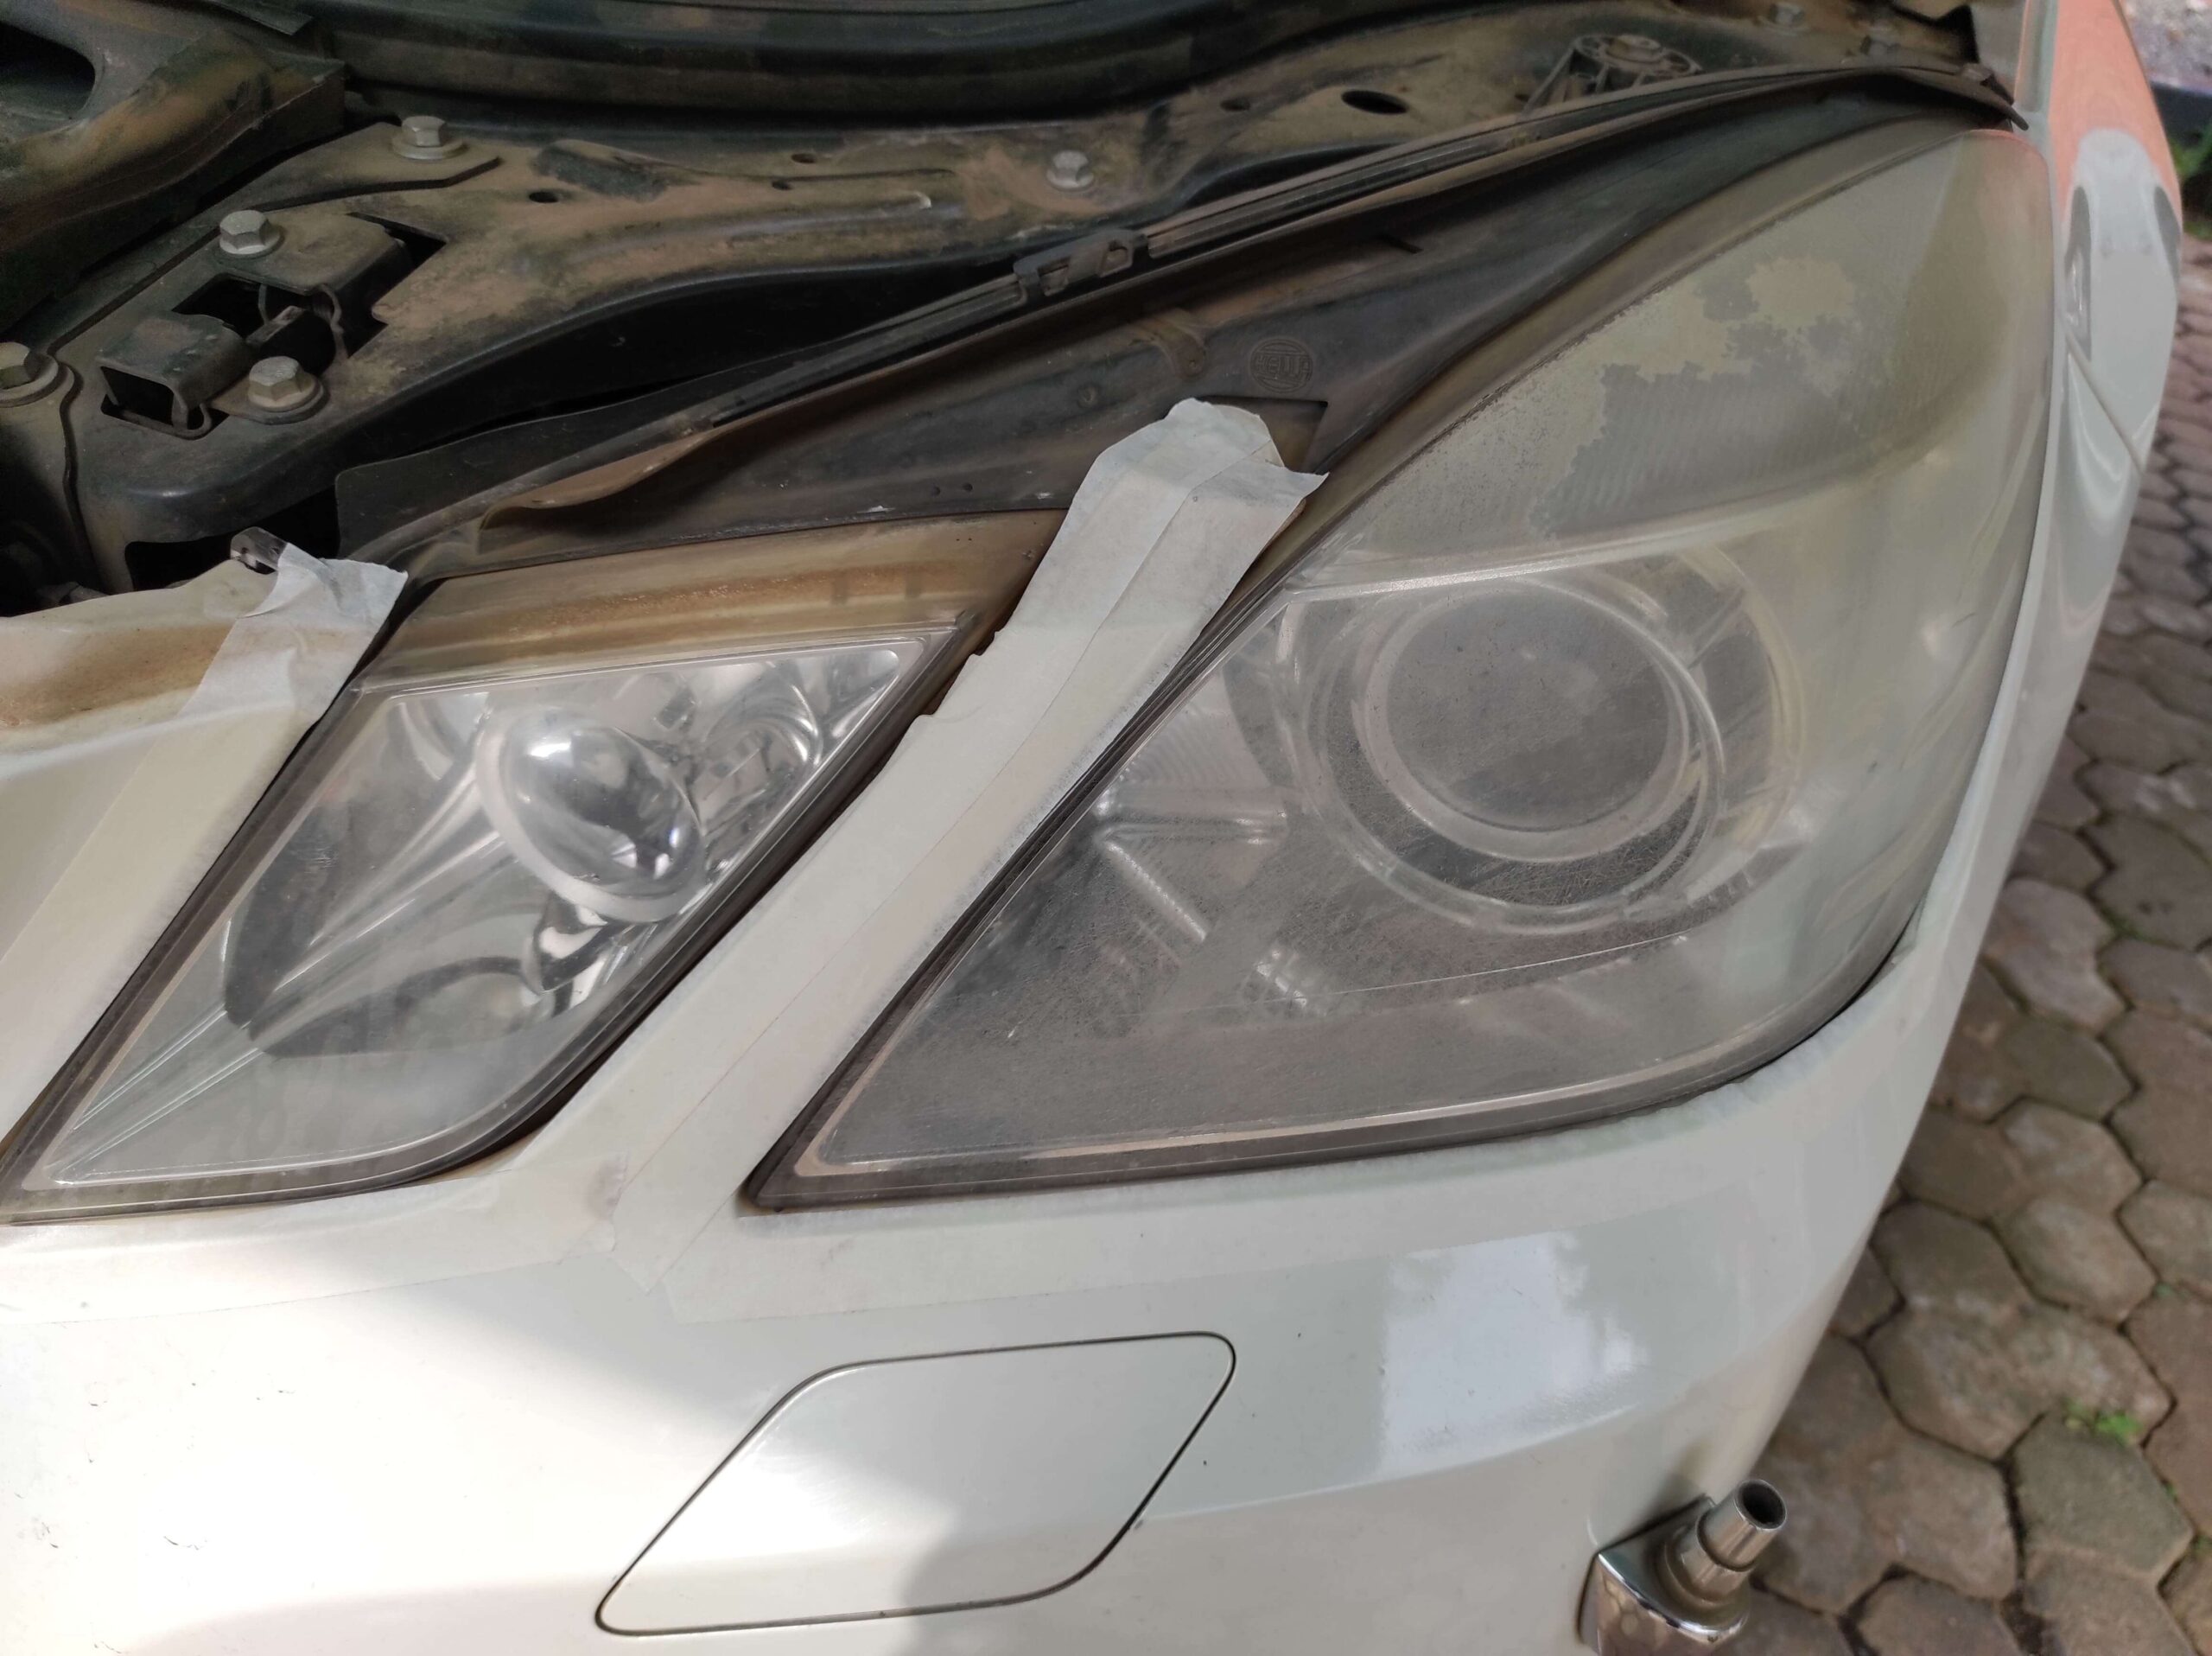
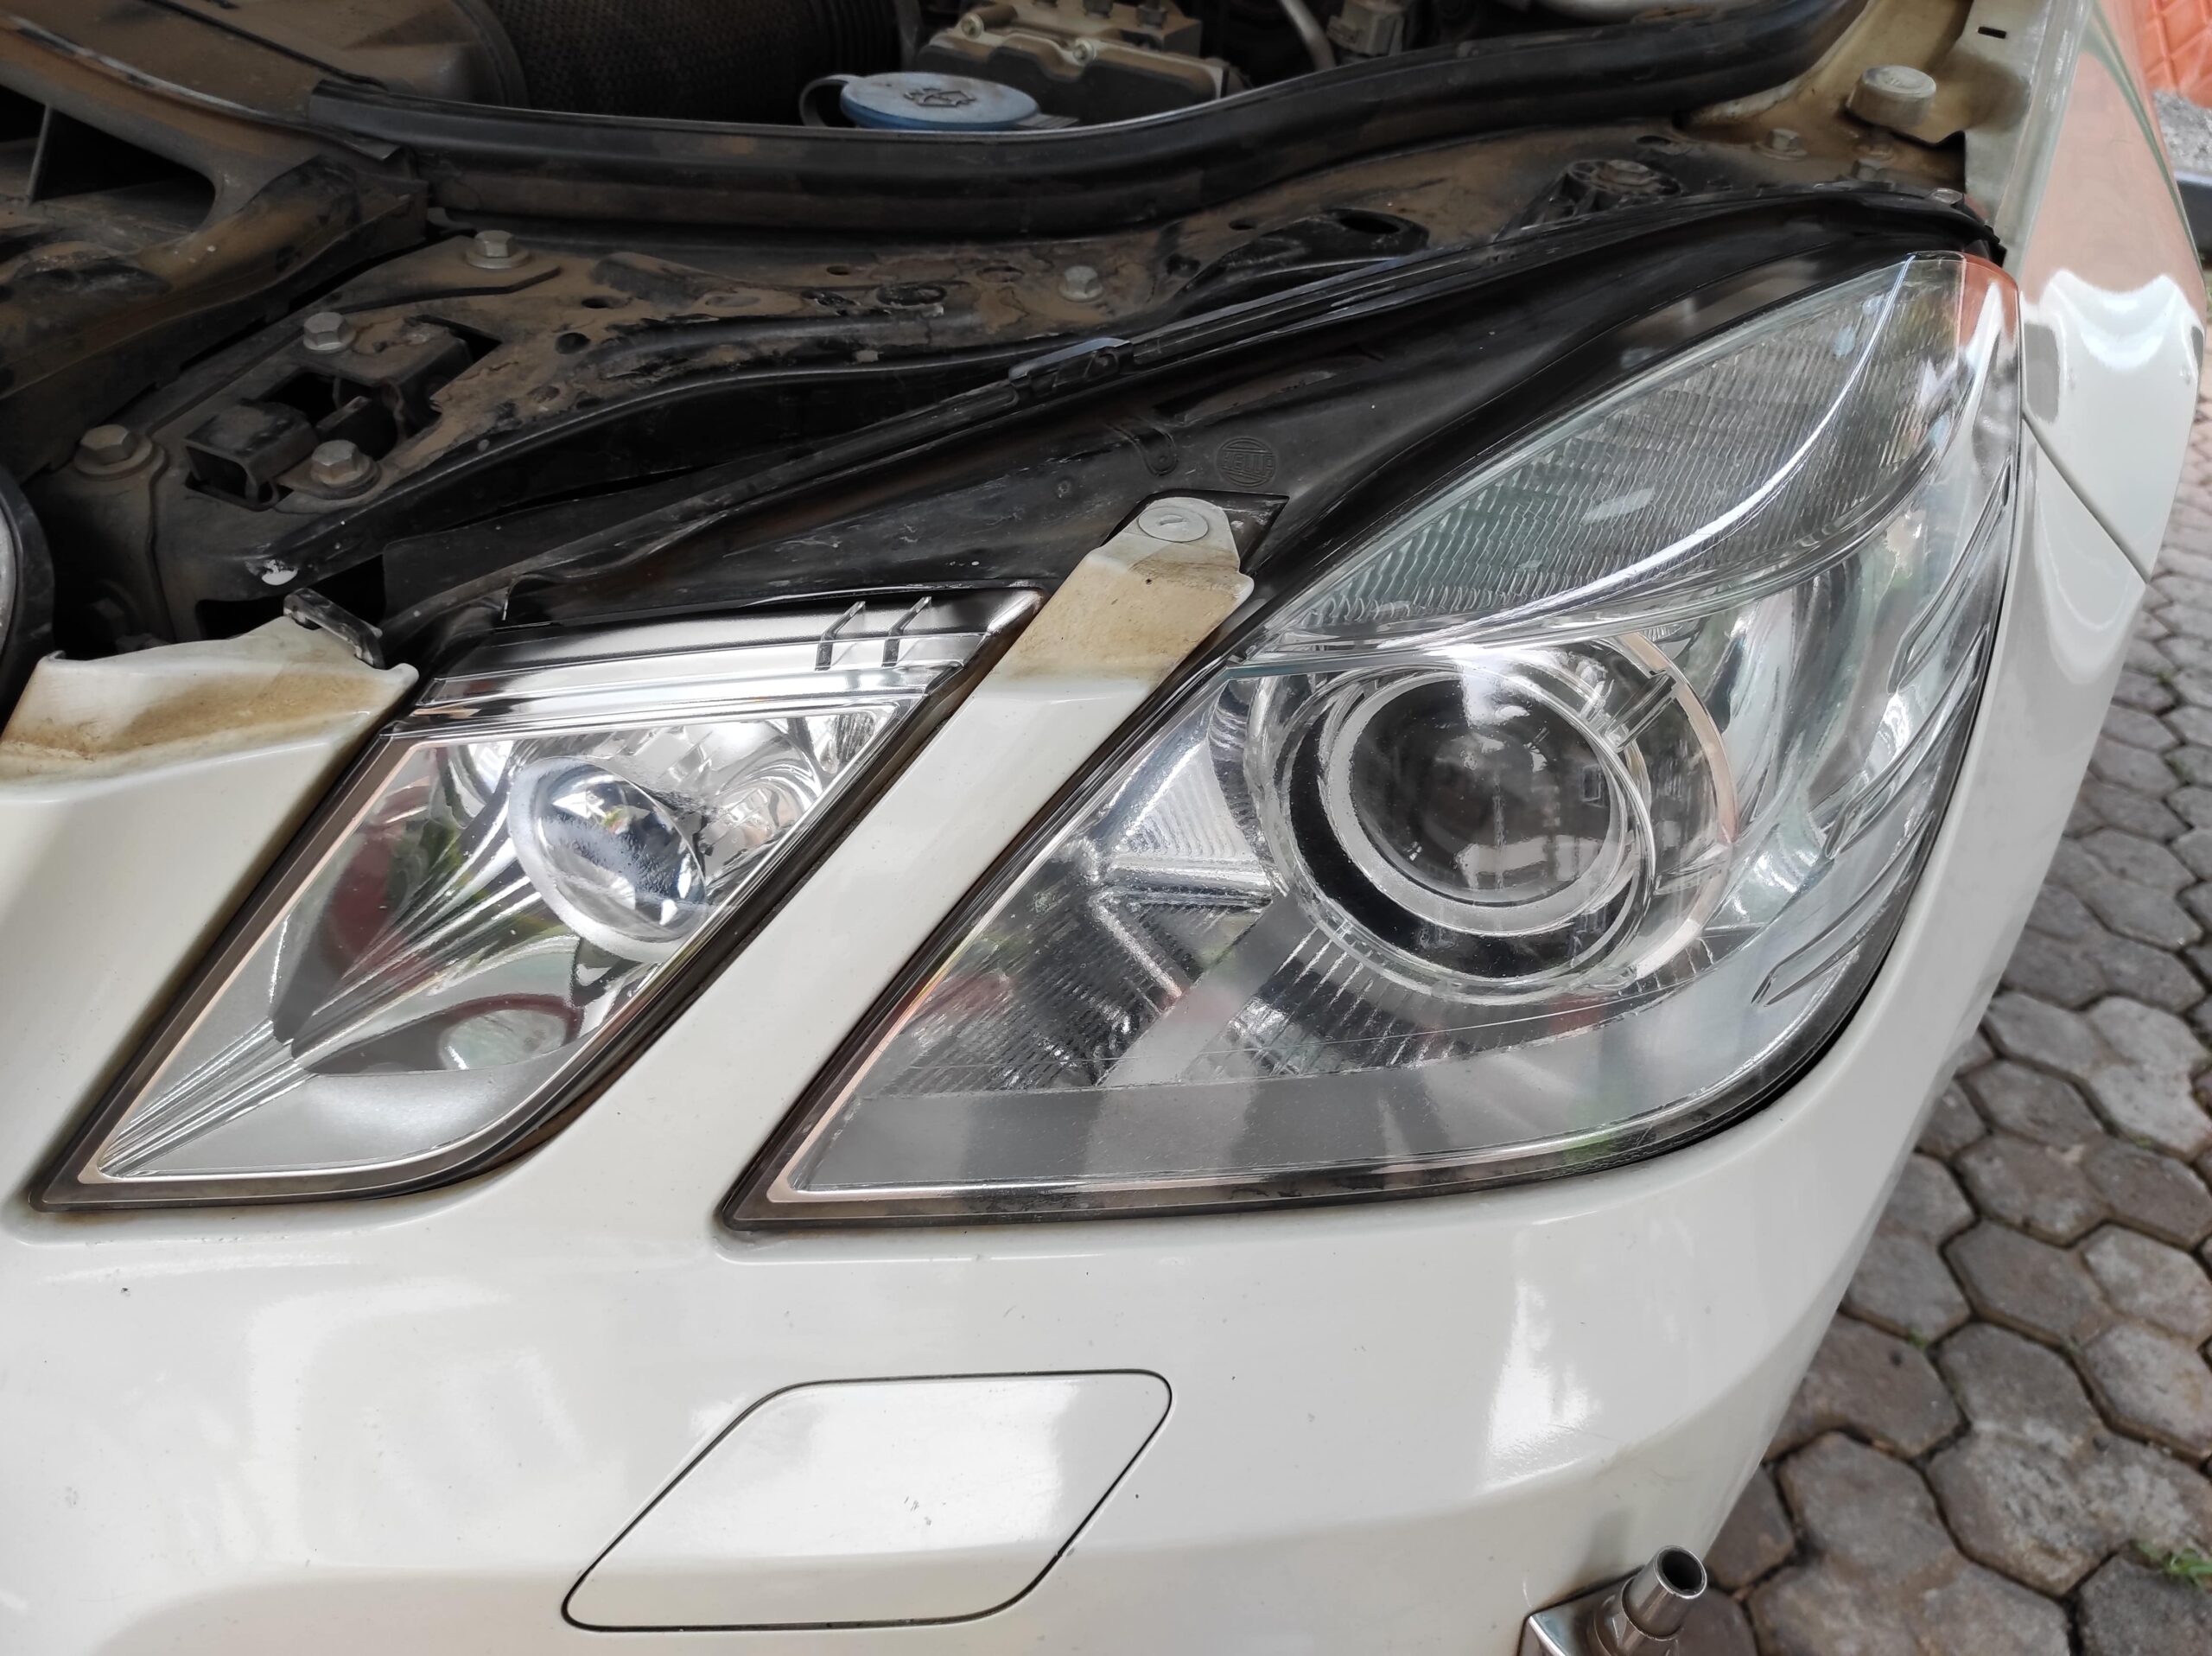
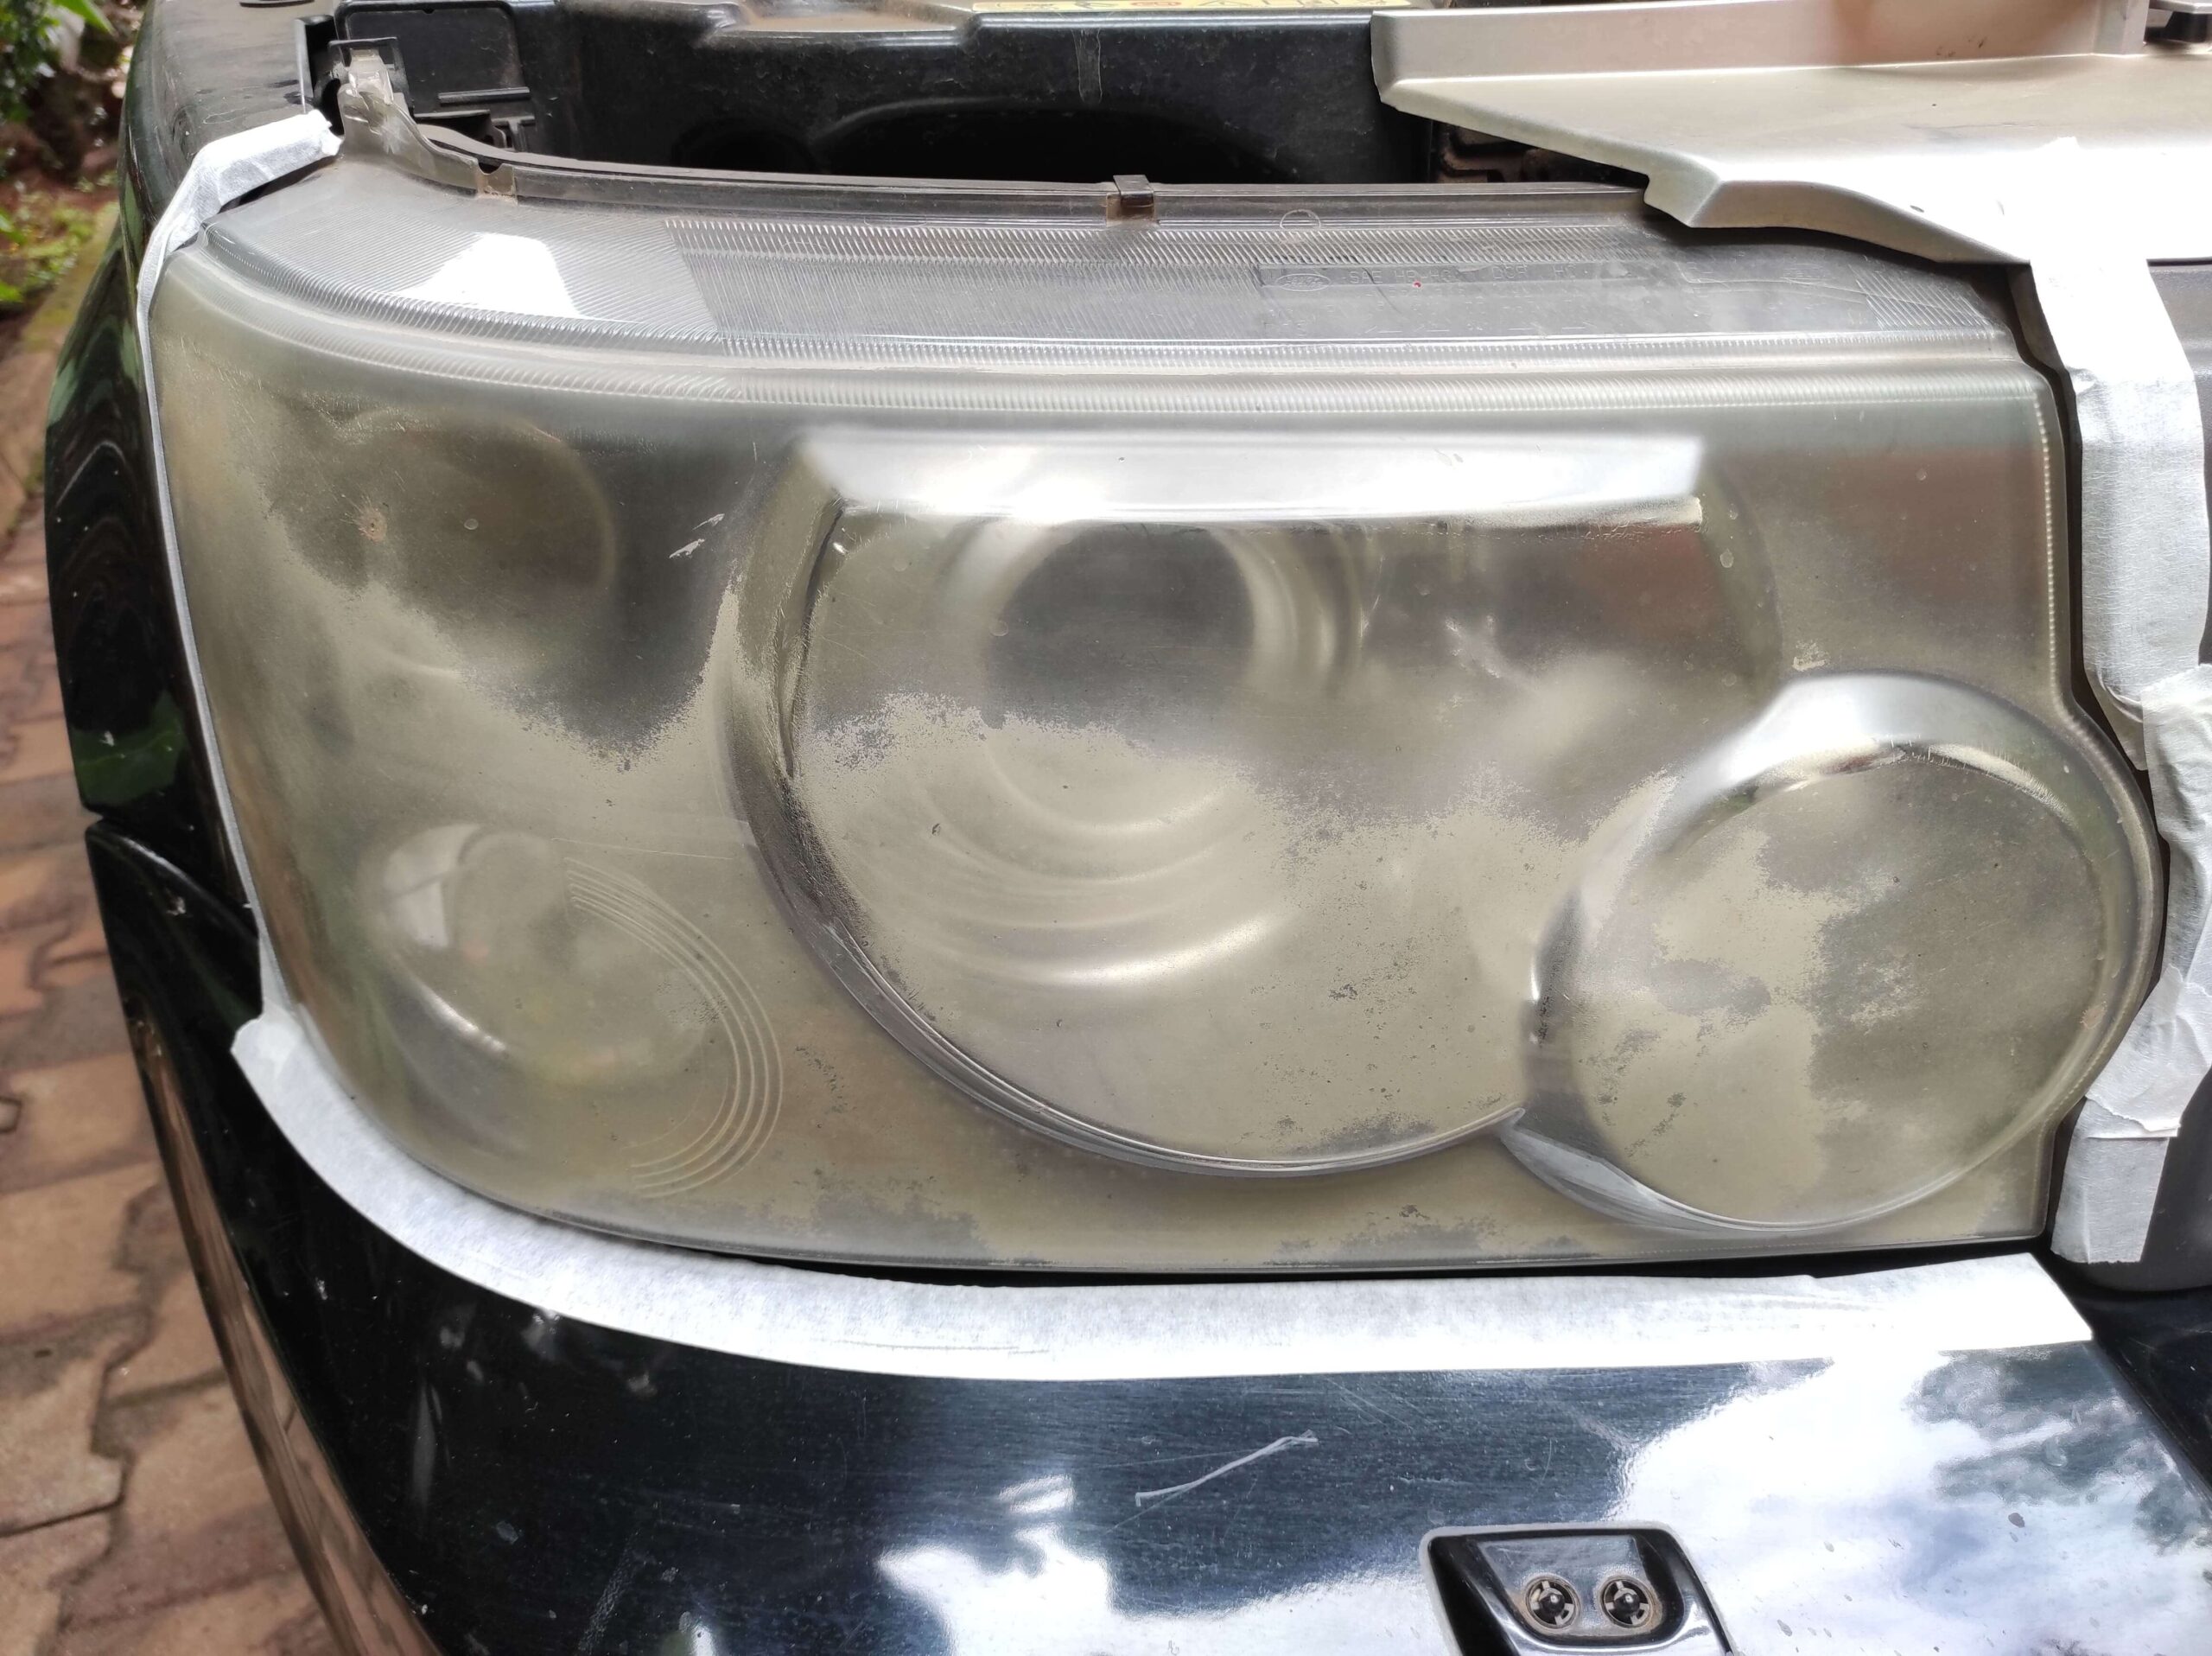
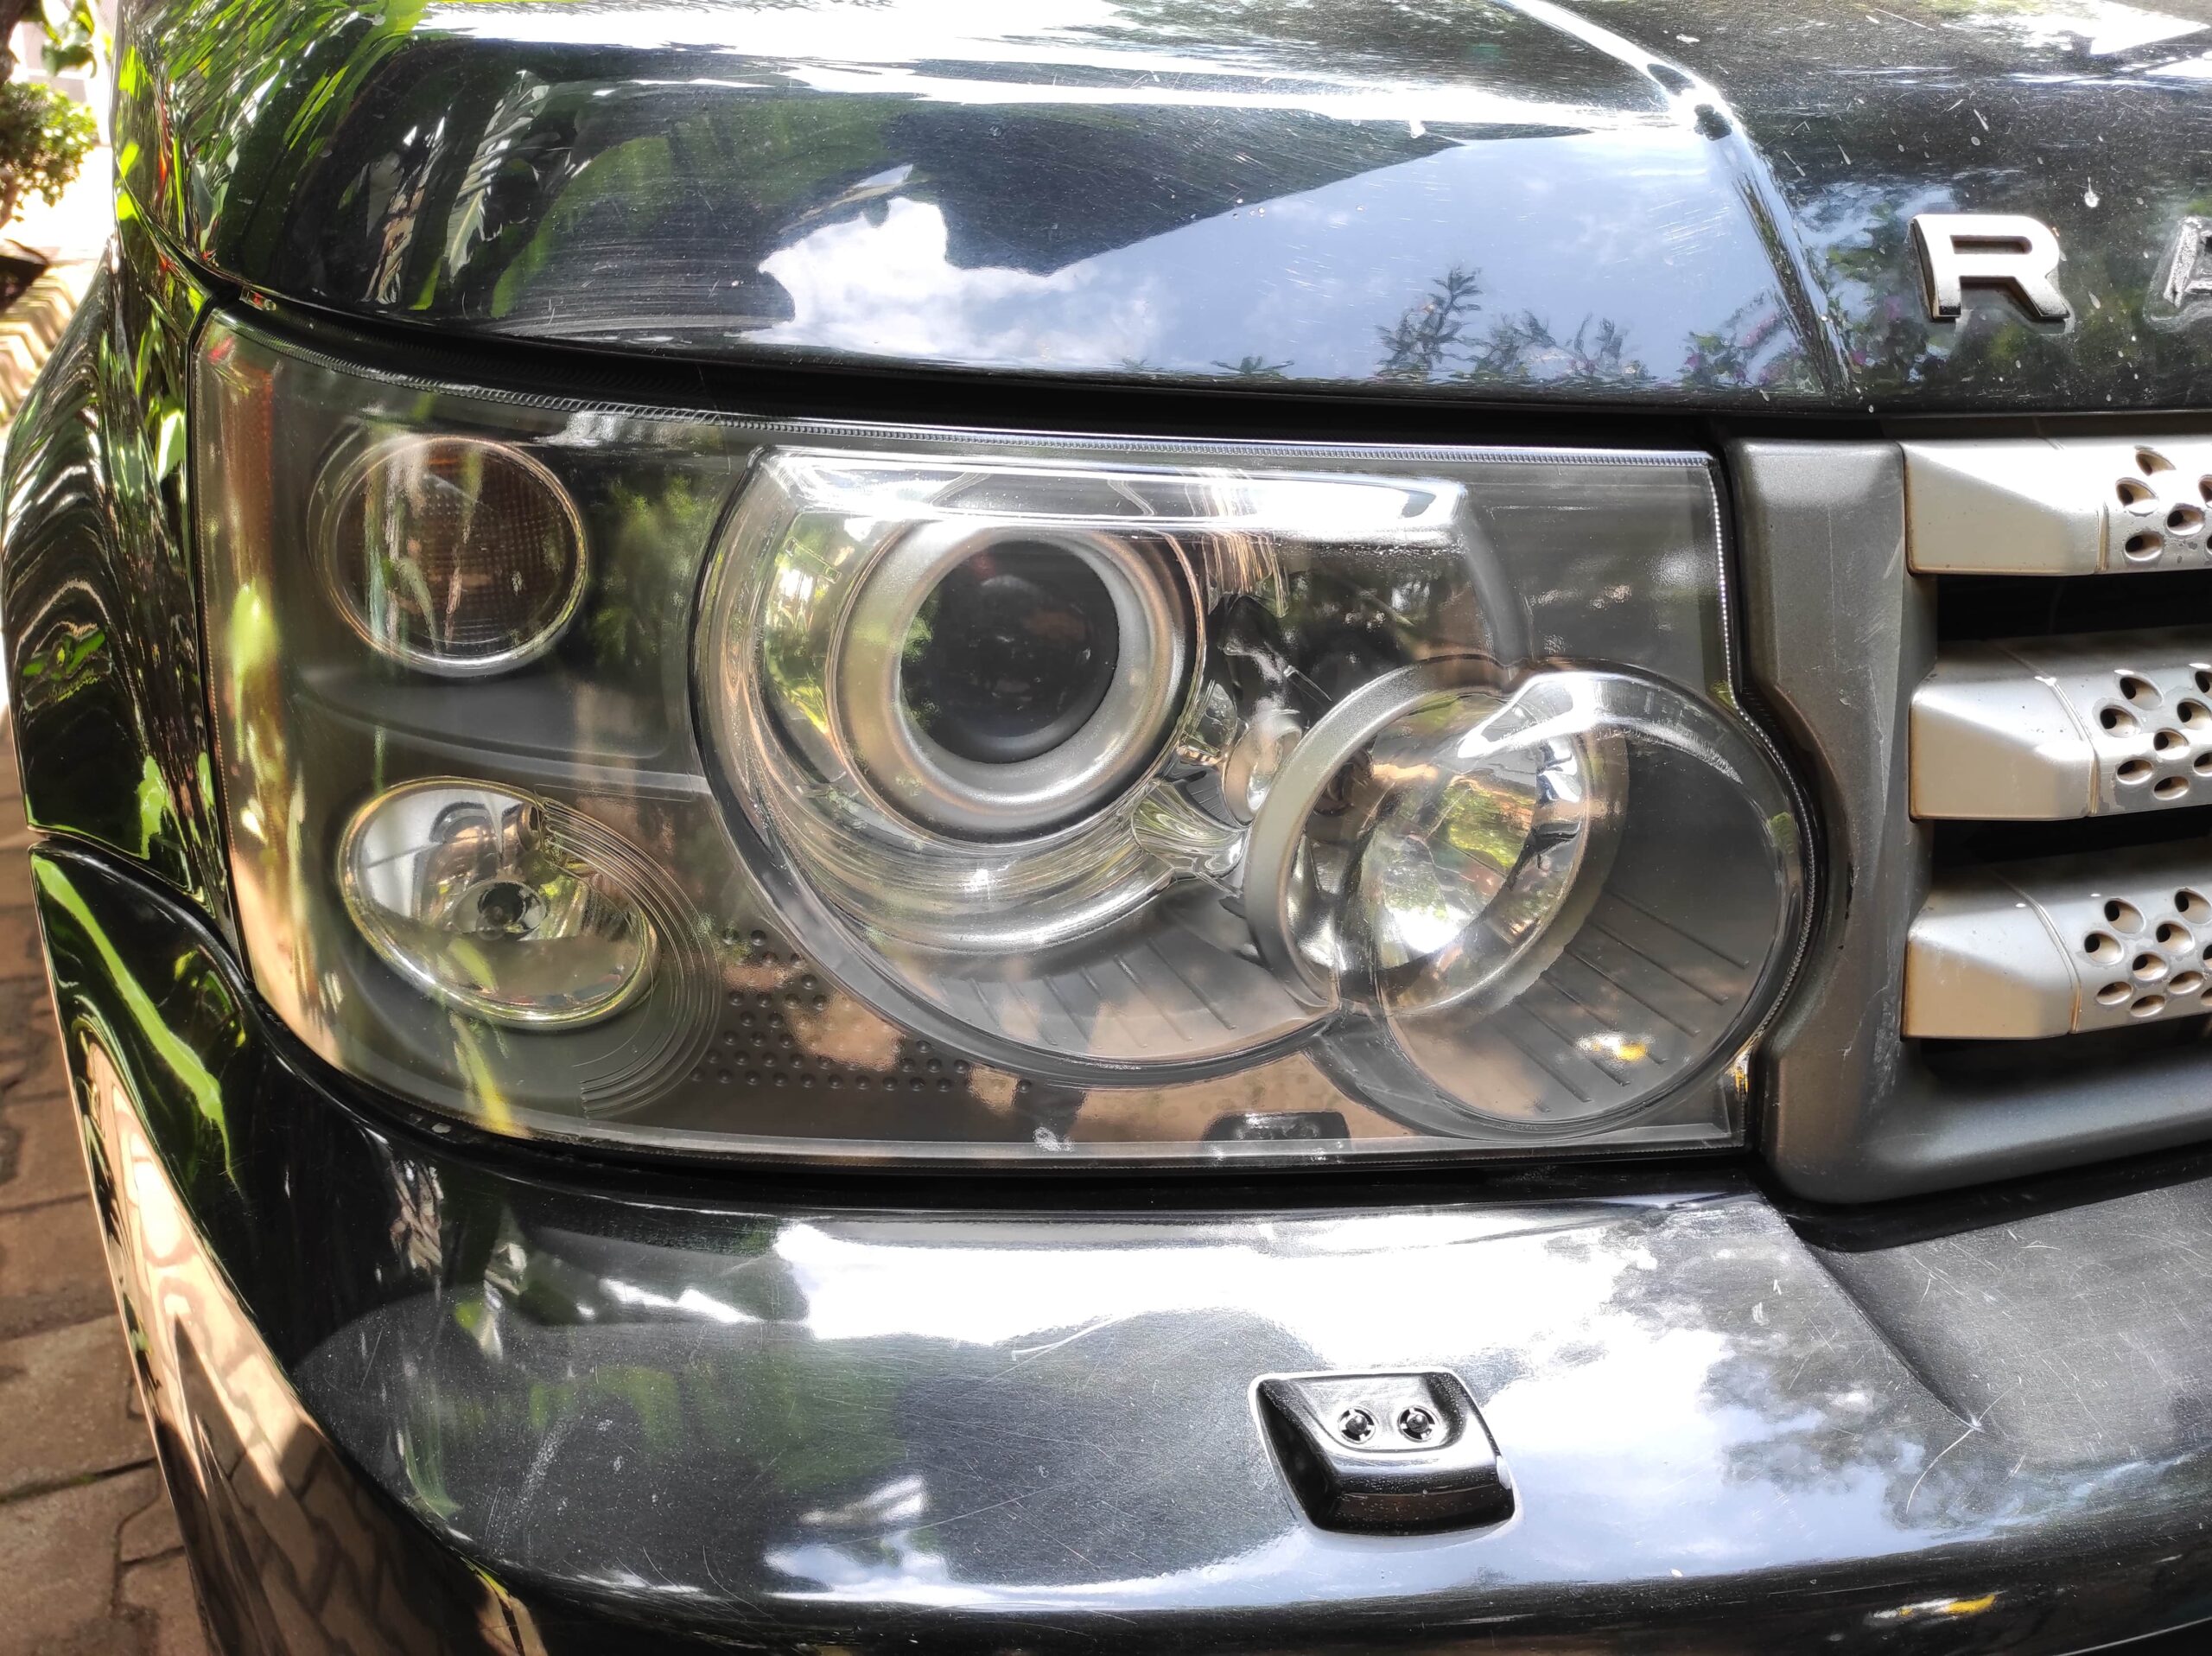
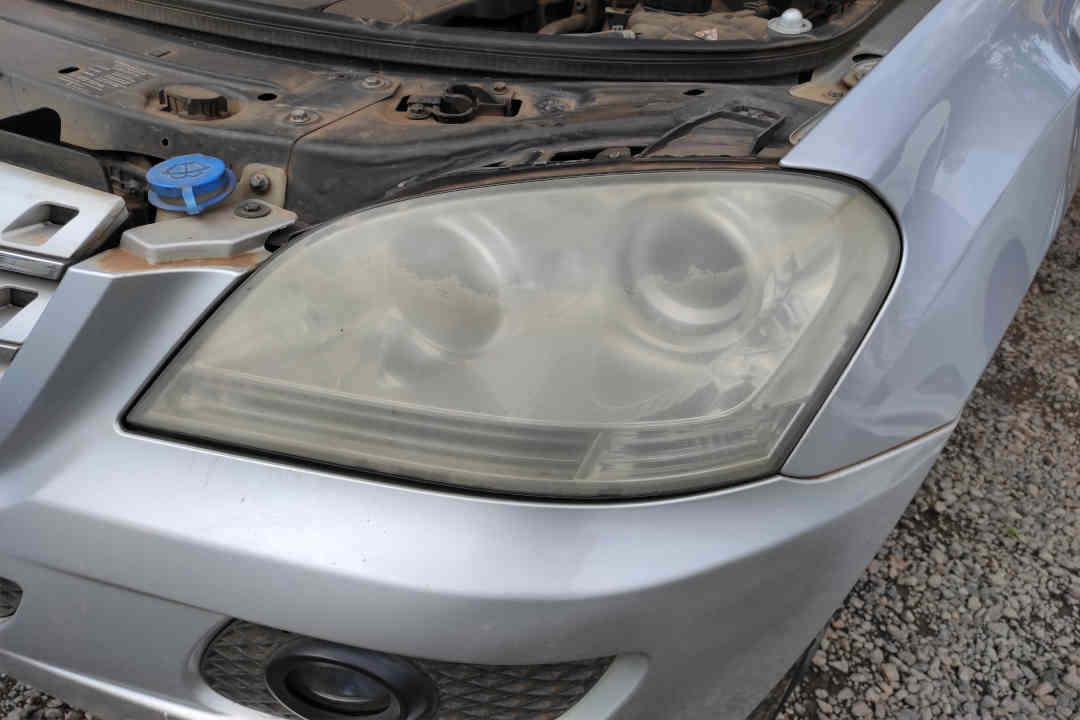
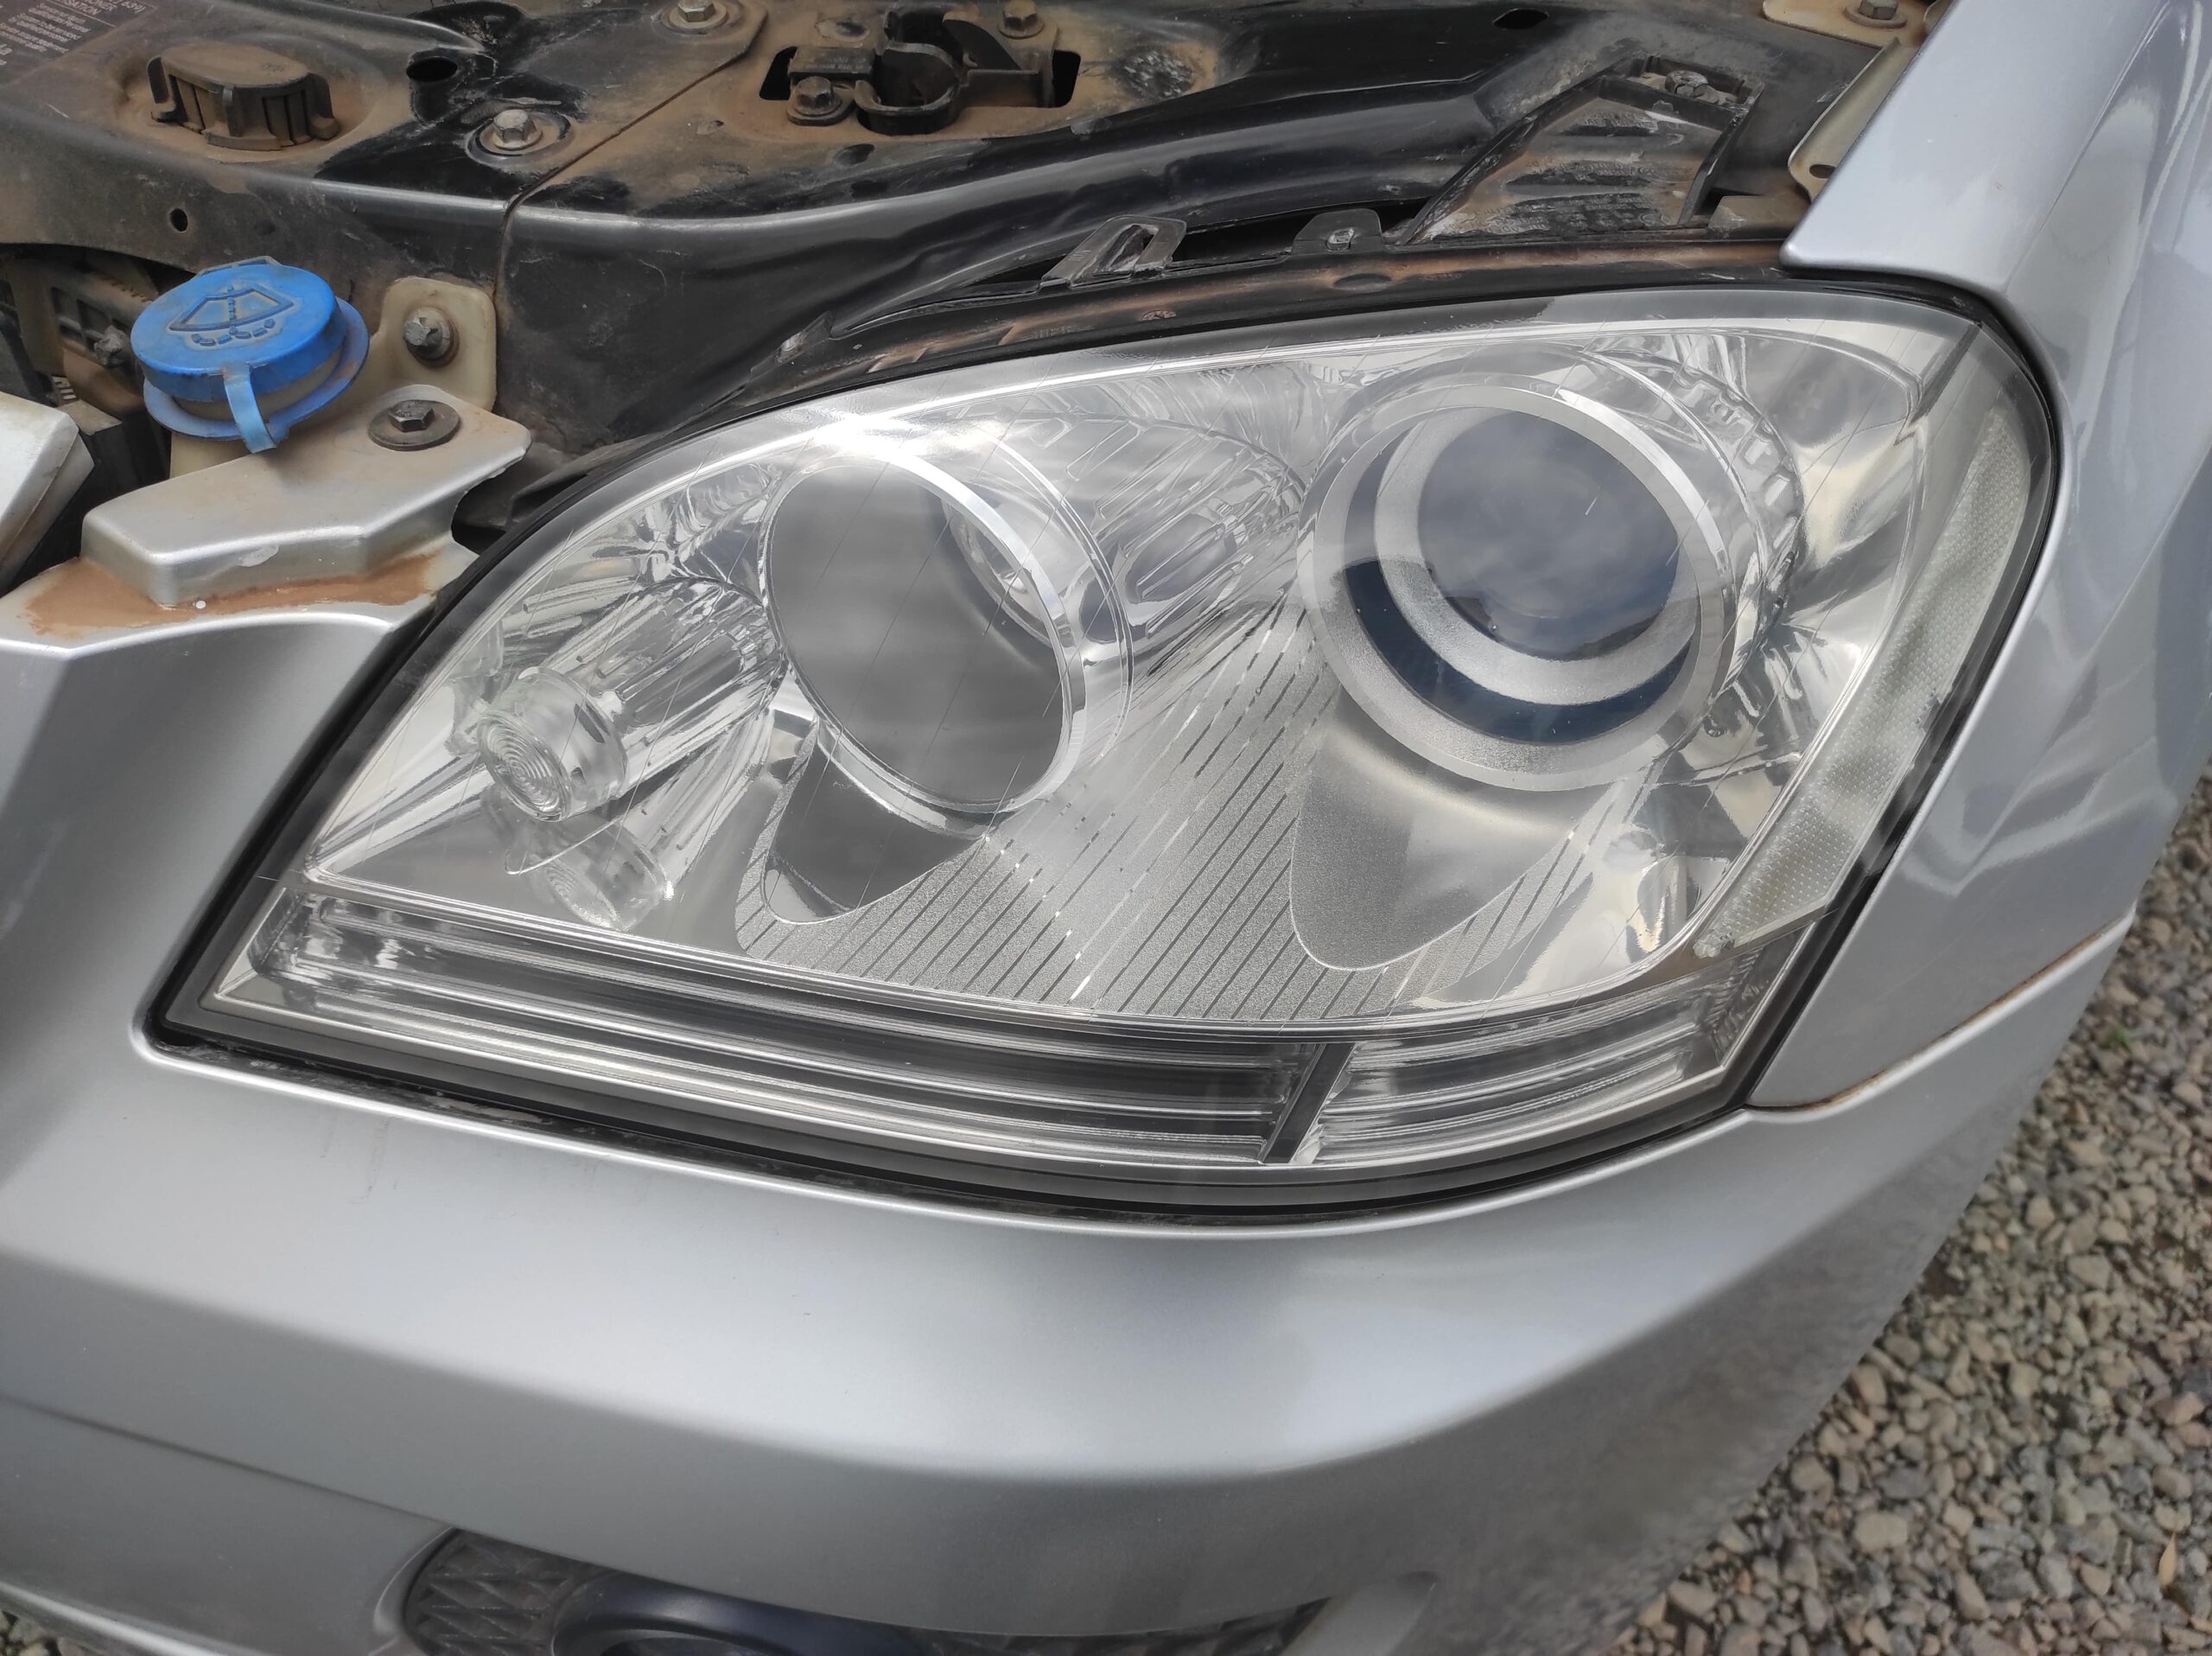
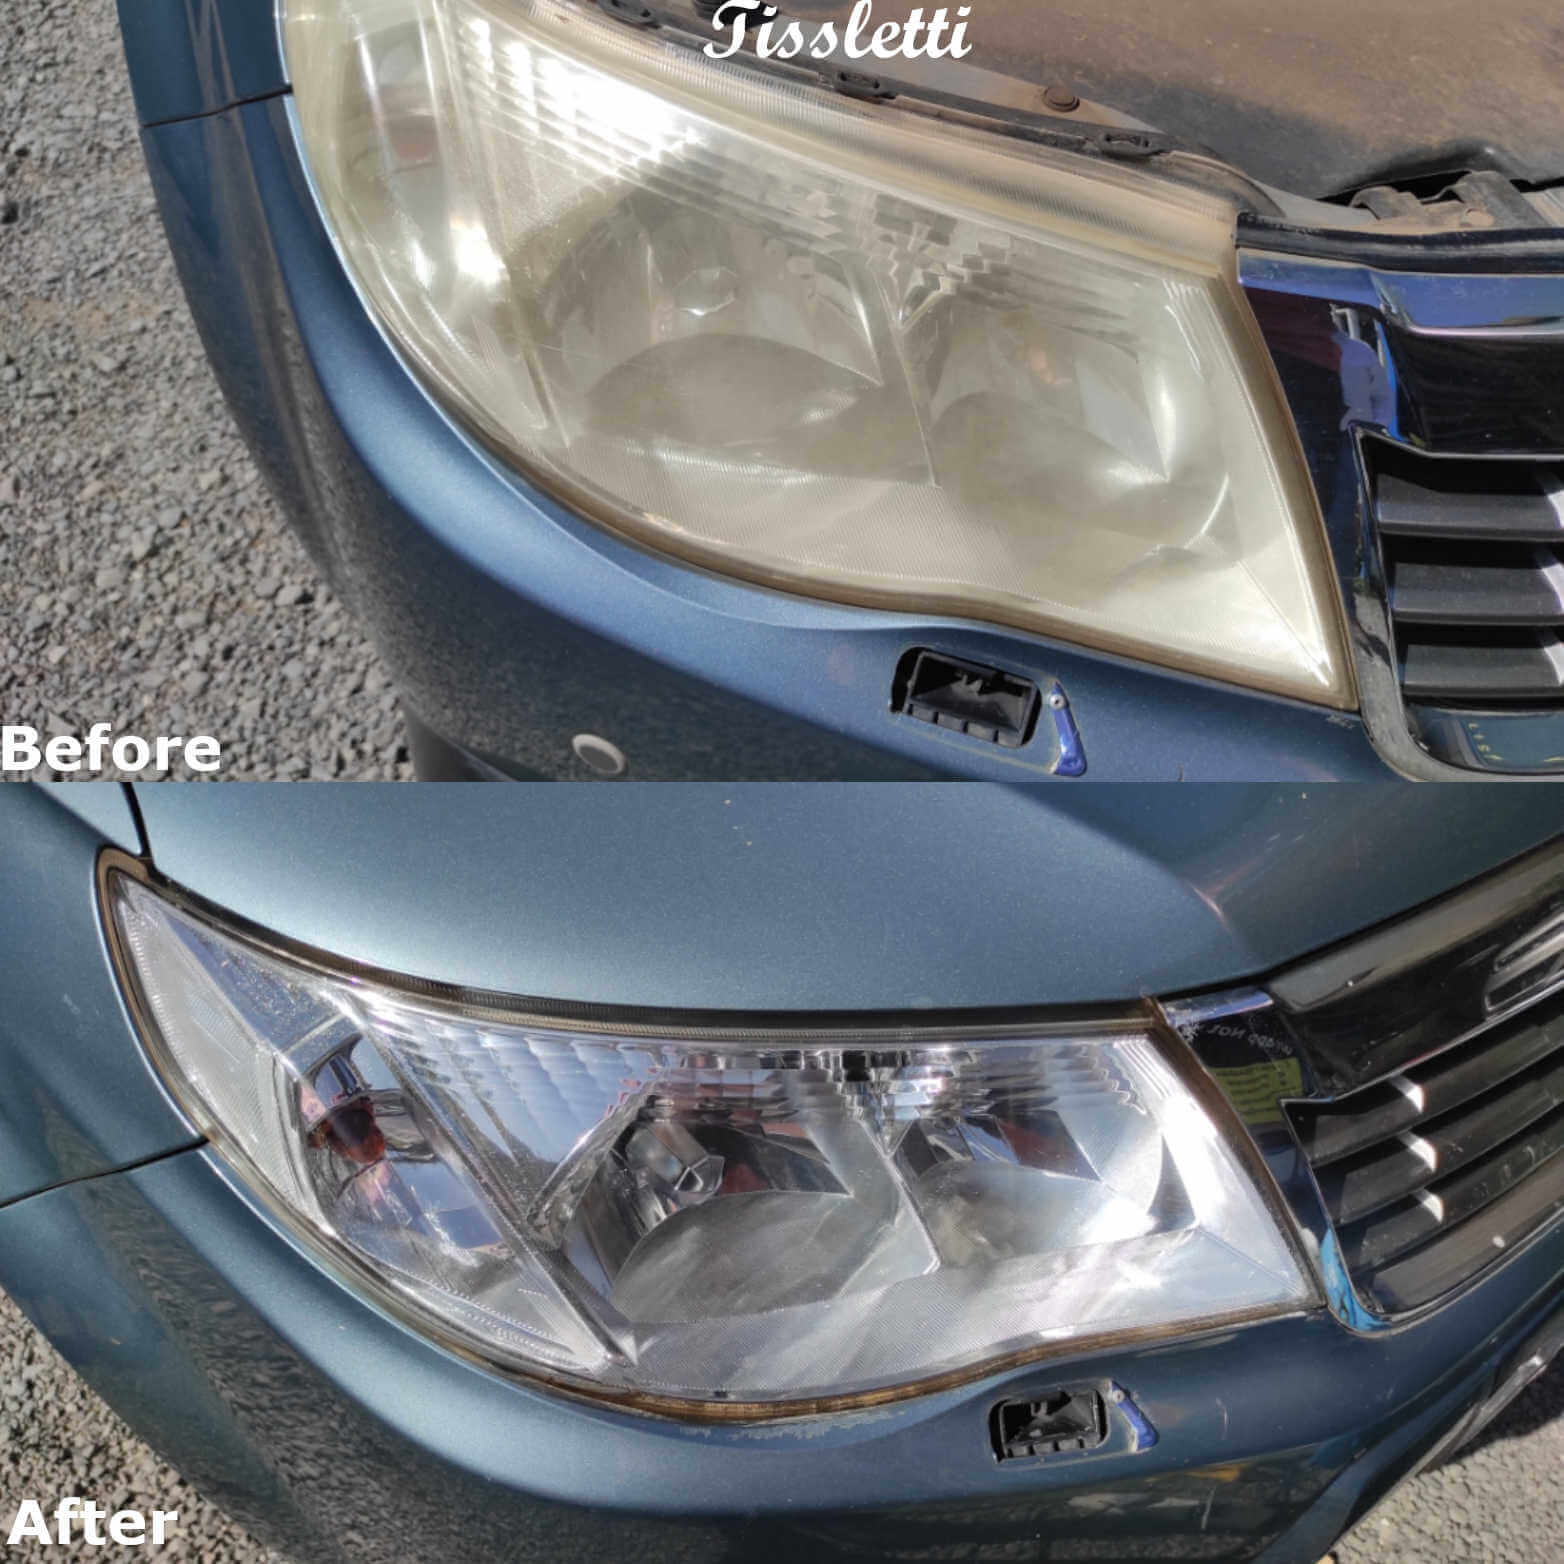
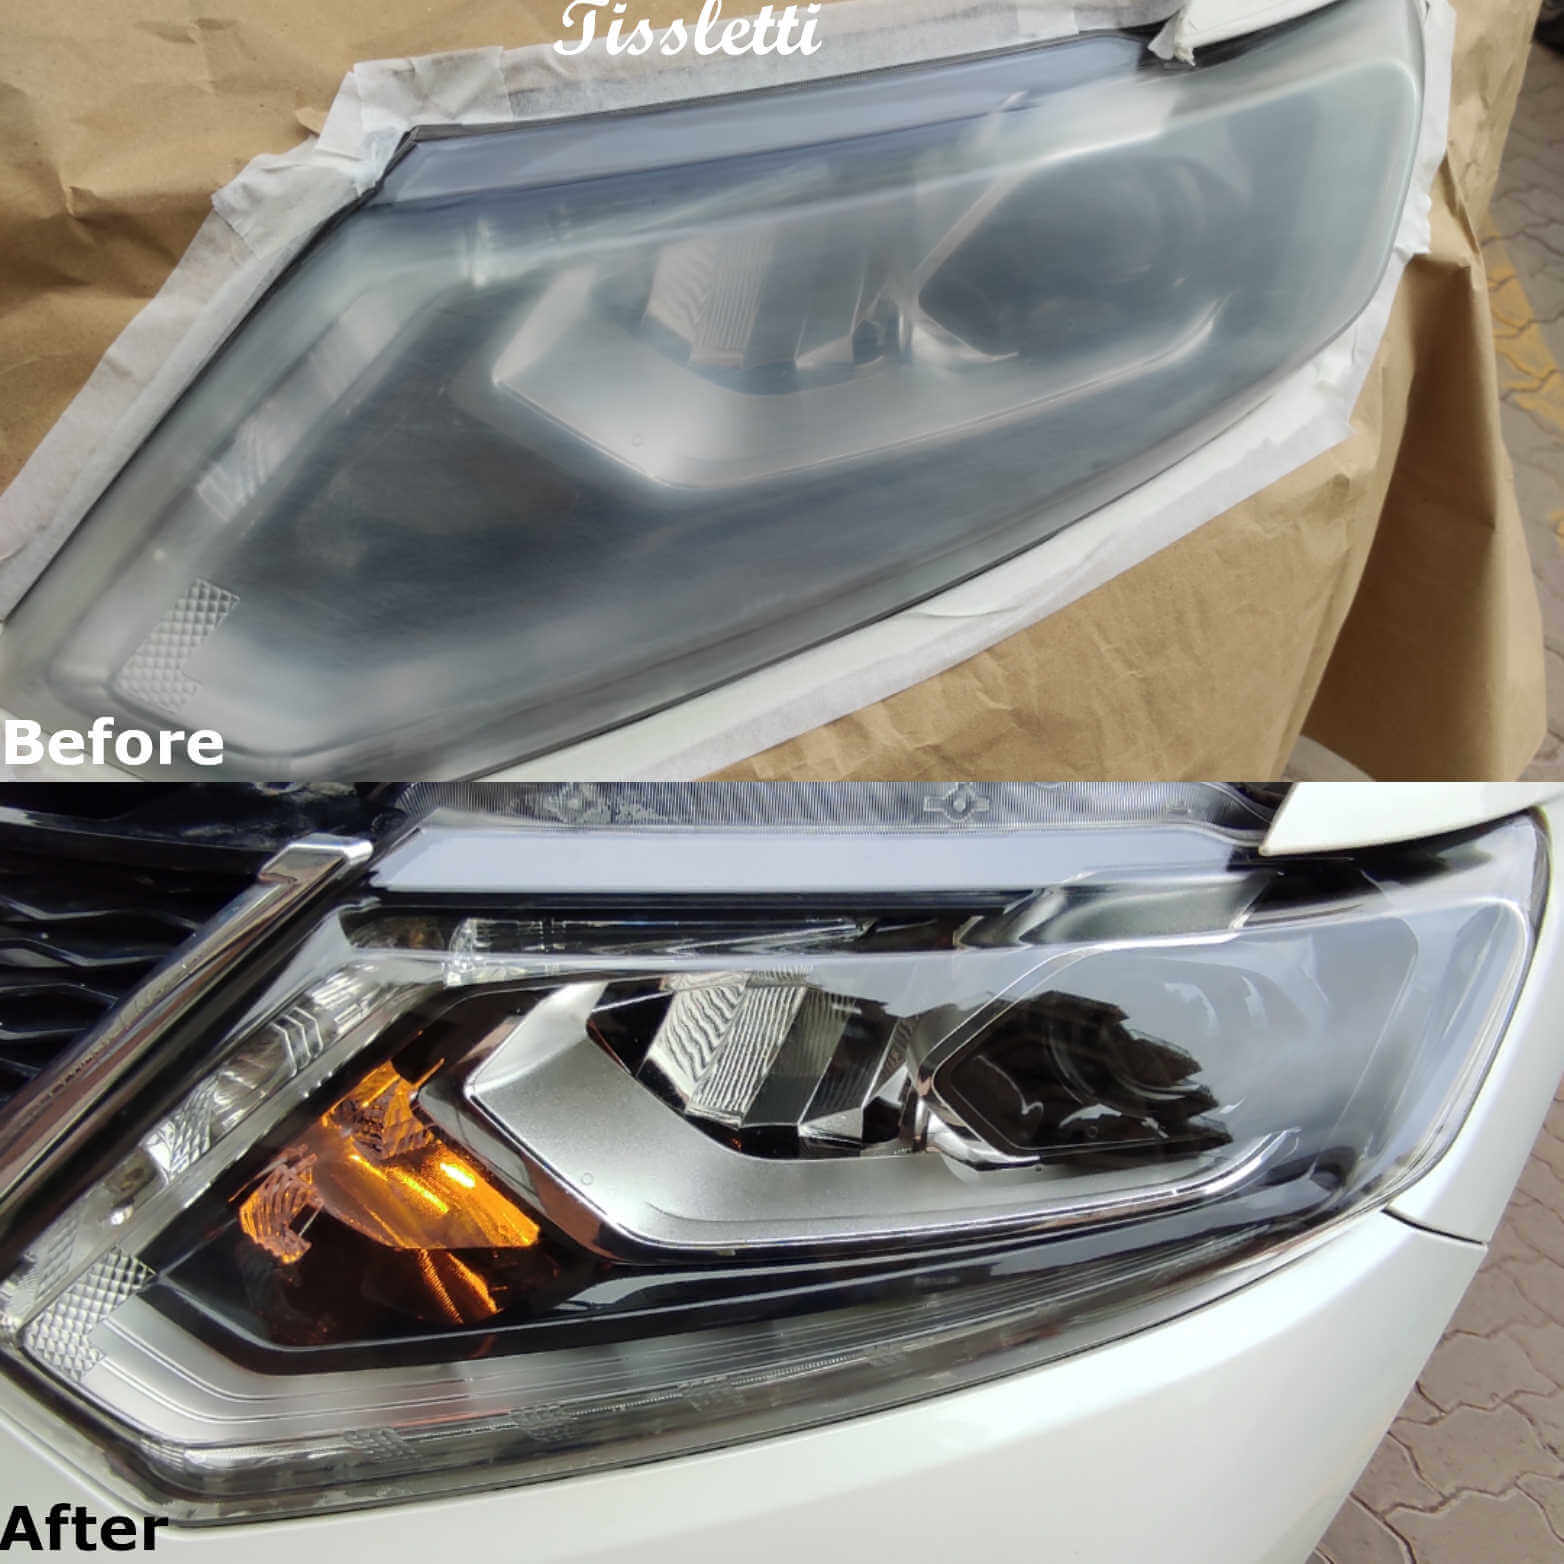
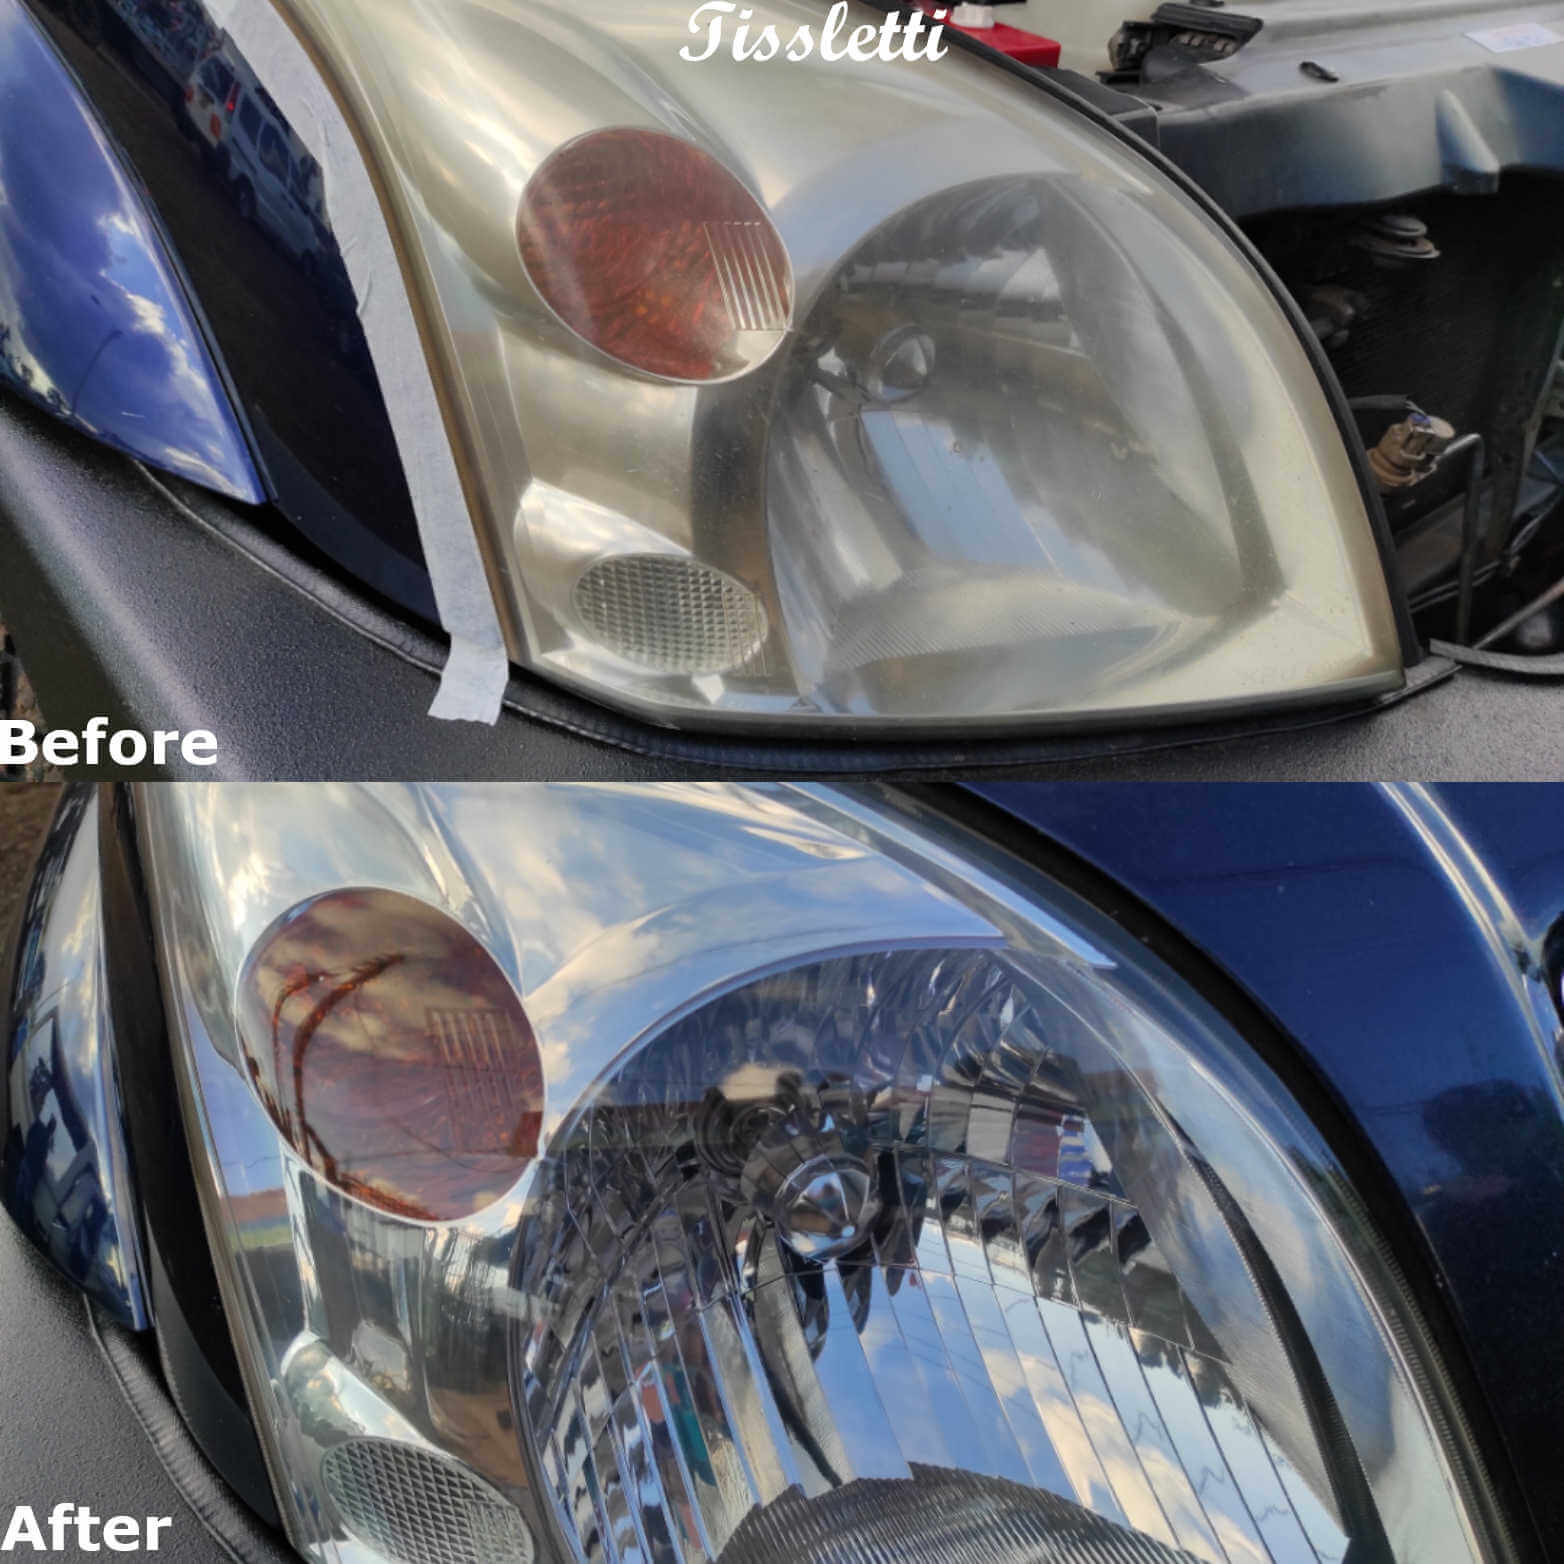
Before and After
We are proud of the results achieved using techniques refined over the years.
Start your own Business
In the modern automotive industry, maintaining the appearance and functionality of vehicles has become increasingly important. Headlights, in particular, are prone to wear and tear over time due to factors such as UV exposure, road debris, and environmental pollutants. This has led to the rise of the headlight restoration business—a niche yet lucrative industry focused on renewing the clarity and brightness of foggy or yellowed headlights.
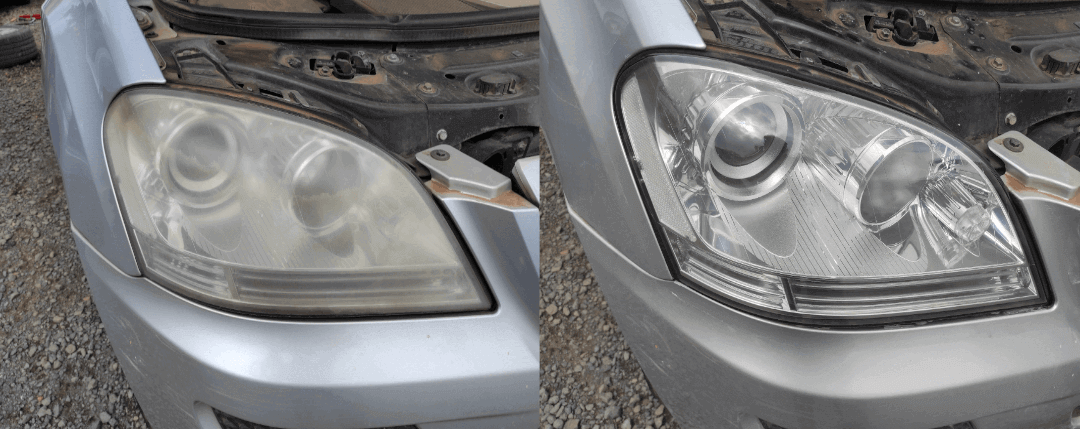
Why start a headlight restoration business? With the average age of cars on the road increasing, there’s a growing demand for cost-effective solutions to enhance vehicle aesthetics and safety. By tapping into this market, entrepreneurs can capitalize on a service that offers tangible benefits to vehicle owners while generating steady revenue.
Headlight Restoration Course
Unlock the secrets to restoring headlights to their former glory with our comprehensive headlight restoration course. Designed for automotive enthusiasts and professionals alike, this course provides hands-on training in the latest techniques and best practices for rejuvenating foggy or yellowed headlights. Participants will learn the step-by-step process of headlight restoration, including sanding and sealing methods. Whether you’re looking to enhance your automotive detailing skills or start your own headlight restoration business, our course equips you with the knowledge and expertise needed to achieve stunning results. Join me and illuminate the road ahead
Frequently Asked Questions
If you don’t want to pay for the service then follow our tutorial and do it yourself for FREE
