Why Do Headlights Get Foggy/Yellow?
In order for a car to be in the best shape possible regular maintenance is required, the same applies to headlights. When headlights become distorted it might be for several reasons, let’s dive into each condition and develop a solution to each.
Table of Contents
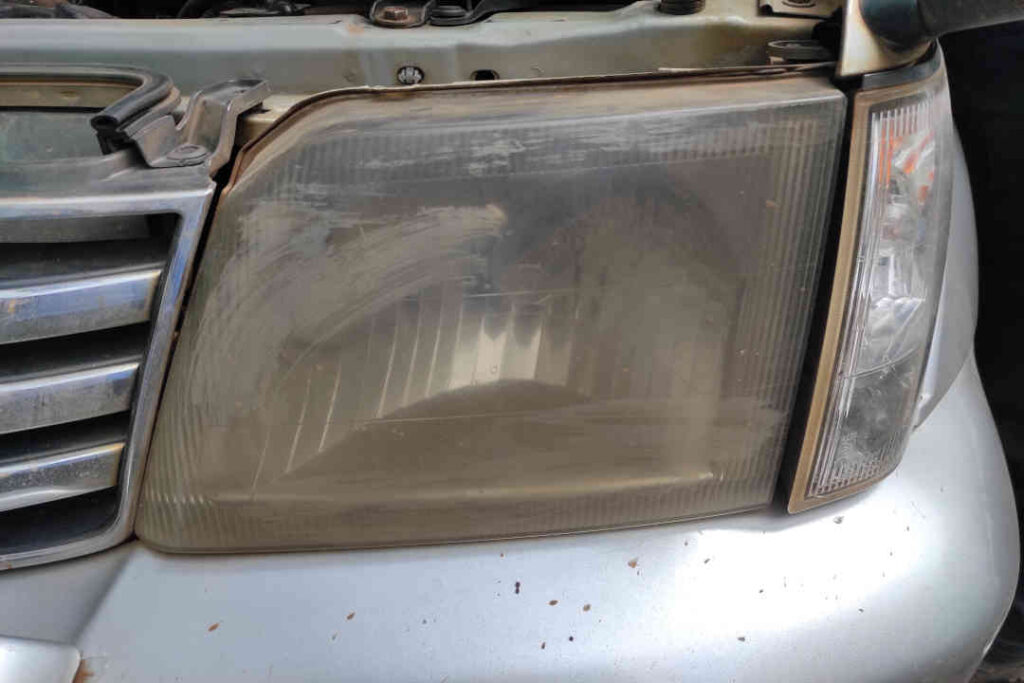
Oxidation
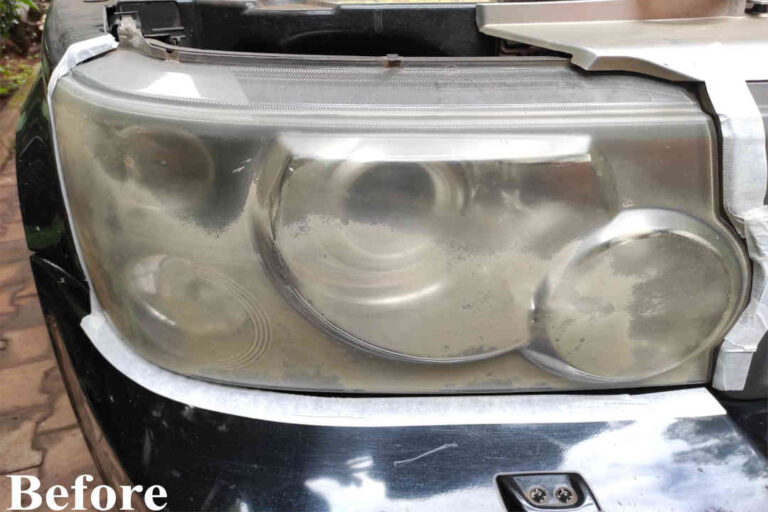
This occurs when Sunlight especially UV rays disintegrates the clear plastic lens of the headlights and turns it yellow/faded. This is the most common reason and it happens as the car ages. This can be seen when a car is 4 years or older than new. UV rays occur naturally and with time all headlights do fade with time no matter the make of the car.

To get rid of this issue one must restore the headlight. Restoration is different from cleaning the headlight because the process is more invasive and requires tools and procedures, soap and water will not cut it. The best way to get rid of oxidation is to wet sand the headlight using 400, 600, 1500, and 2500 grit sandpaper respectively. After that apply a protective coat. Sealants or clearcoat will get the job done. To restore headlights permanently please check our full guided step-by-step process on how to restore headlights here.
Moisture
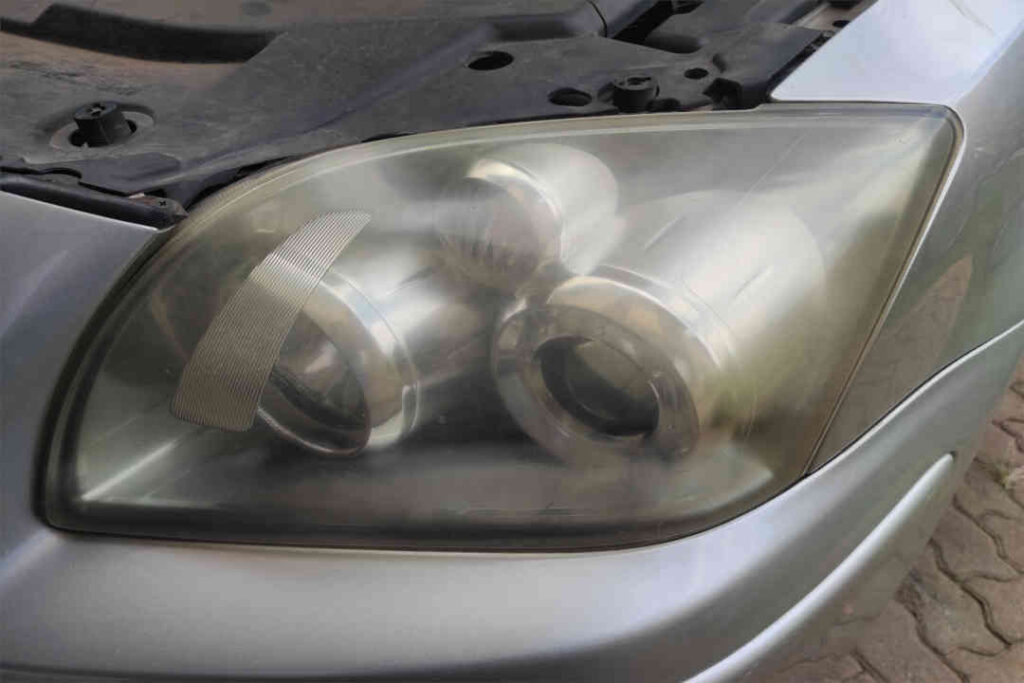
There are some cases where the headlight has moisture on the inside. This can make the headlights foggy and water drops can be seen inside the headlight lens. This is in view of the headlight not being sealed properly and water penetrates through the headlight. It can happen on rainy days while driving or when going to a carwash.
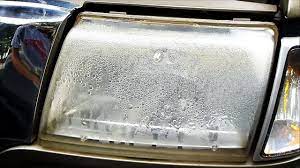
The solution is to find the gap where the headlight is not sealed properly and plug it in using silicone. One can also remove the bulbs and heat the lens to allow the moisture to escape. I have used this tip plenty of times. Once the moisture fully dissipates put back the bulbs as they were. You can also use pressurized air or a blower to dispel away the moisture.
Dirt/Dust
This is visible on the reflector of the headlight. It is evidenced by a brownish color. It happens when either the headlight has not been sealed properly or the back cover was not put back properly when changing the headlight. The guiding principle is to check where the dust is getting in from and plug that first.
Getting rid of the dust is quite simple. Open the back cover then remove the bulbs so as to access the headlight. Place a blower or pressurized air through the bulb opening and that will allow the air to carry away the dust. Repeat the process till all the dust is blown away. Once done put the bulbs in place and the back cover. Ensure they are tightly secured.
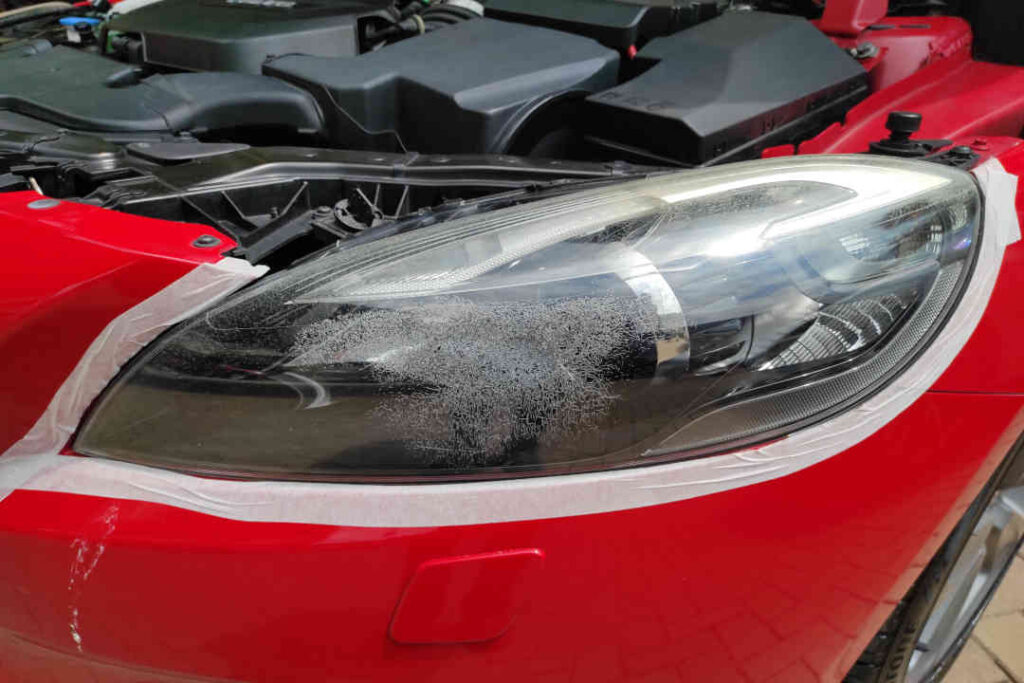
Chips and Scratches
This occurs on the lens of the headlight. You can feel the roughness of the headlight. This happens because of tiny rocks and dirt chipping away on the headlight while moving at speed. You can also confirm the same by inspecting the front bumper for rock chips as well. Once confirmed to solve this issue one must restore the headlight. As explained earlier this will require sanding and applying a sealant or clear coat.
To avoid this issue, it is important to take note of the road surface and condition. If it is loose then it is wise to slow down. You can also protect the headlight by applying a protective film to it. Protective films are available and one can apply them on the headlights and on the body paint as well.
Accidents and Cracks
While no one wishes to be involved in one, accidents are unavoidable. We are talking of serious ones but of minor ones, for example hitting a wall slightly or hitting a stationary vehicle while parking. At first, it might seem there is little to no damage and one might assume all is well. After some time on will notice that body parts are not well aligned. If this involves the headlight, then one will notice them getting foggy or dust inside the headlight.
If the damage is not serious then the headlight can be repaired, maybe by applying silicone on a crack for example. If not one must consider replacing the whole unit.
Bulbs
It might seem irrational to consider bulbs as part of the problem but in some cases, it applies. When a headlight has a black or smoky shade inside then that is likely caused by the bulb. This happens when the bulb burns off and needs replacement.
To solve this one will have to clean out the smoke. After removing the bulb, we can use compressed air to get rid of the smoke. If this does not work, we can use water to clean out the smoke. The whole headlight will have to be roved. Please note that to do this one must be in consultation with a professional because this does not apply to all headlights. So please confirm first before committing to this process. If your headlight cannot be cleaned with water, then it is safe to blow compressed air and leave it at that. If it gets worse then getting a new set of headlights is the best solution.
It is important to note that this doesn’t happen often and cases of bulbs making headlights foggy are very few. With advancements in technology, headlights are switching from halogen to LED. LED bulbs do not have this smoky issue when they burn out.
Damage by non-professionals
There is plenty of times I have witnessed this in my profession when restoring headlights. I understand the tendency to get value for money but in some cases, cheap is expensive in the end. Most of the cheaper alternatives do not have the understanding and the experience to solve the issues concerning headlights. It might seem like every issue is an oxidation issue and hence they will always have the same solution to all headlight-related problems, that is to sand it down and apply the sealant. When that doesn’t work then they hit a wall. Not all headlights require restoration.
There are also cases when the headlight was not well prepped. Either the sanding was not done thoroughly or the wrong sandpaper was used which left sanding marks on the headlight. This again is because the restoration is not done professionally.
It is always important to check the history of your service provider and confirm the credentials. Better to pay more than have to deal with the damage.