Best Way to Clean Car Upholstery
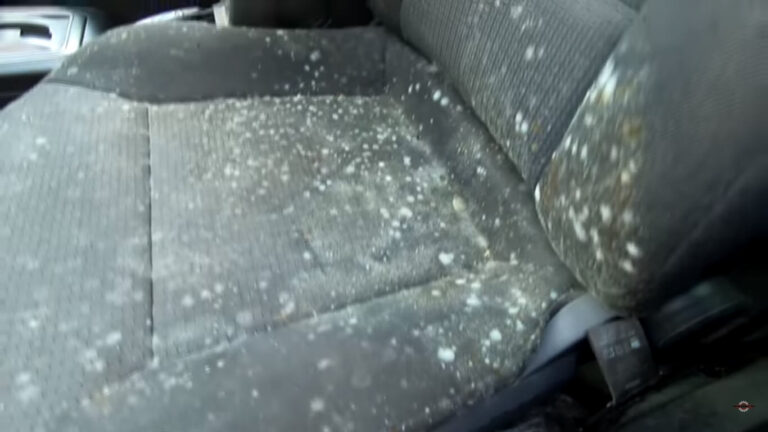
Unlike leather fabric/ upholstery is far much harder to clean; this is because fabric absorbs dirt and moisture. While a wipe might suffice for the moment, in order to clean car seats sufficiently we have to employ different strategies so that they may look as good as new. To bring to completion our task we will need:
- Microfiber towels
- Upholstery brush
- Pressure sprayer
- Extractor or spot cleaner
- Vacuum machine
- Blower
- All-purpose cleaner
- Stain repellant
- Rubbing alcohol
- Drill brush
Table of Contents
Step 1
Collect all litter and keep anything of importance aside. All pockets and storage areas should also be emptied. This makes it easier to work on the car without worrying about damaging anything of importance.
Step 2
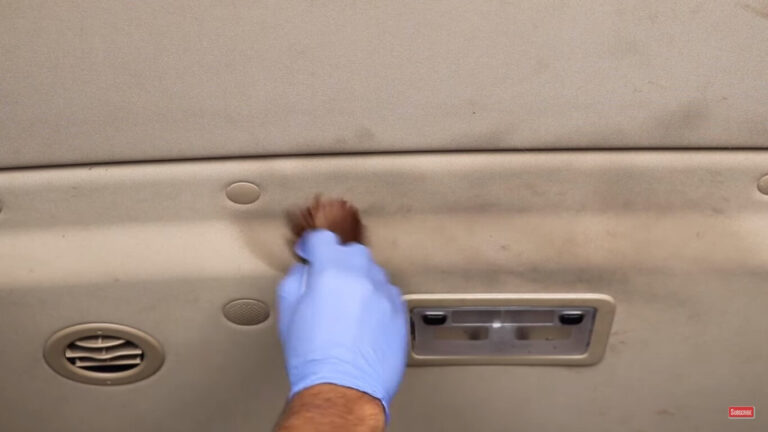
A professional tip is to begin using a blower or compressed are on the interior before vacuuming. This clears hidden dirt from hard-to-reach areas where a brush cannot reach. Blow the dirt to an area that is easier to pick or vacuum from. Make use of a dust mask while doing this to prevent allergic reactions.
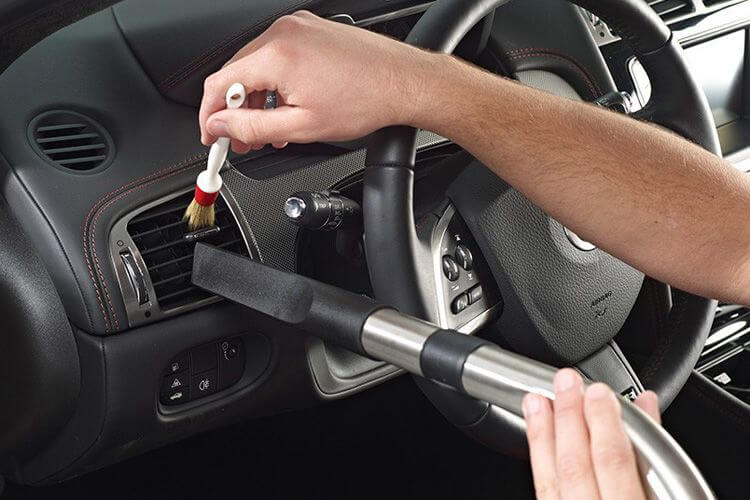
When done blowing, use a vacuum and work on all surfaces trim and headliner included.
Step 3
Note areas with stains and begin to work on those first.
When working with ink stains use a thinner or rubbing alcohol. Apply the thinner or rubbing alcohol on a clean cloth and work on the stain by dabbing gently. Repeat the process to your satisfaction.

Most stains can be removed by using rubbing alcohol when dealing with stubborn stains research the best way to remove them and follow the steps required.
Step 4
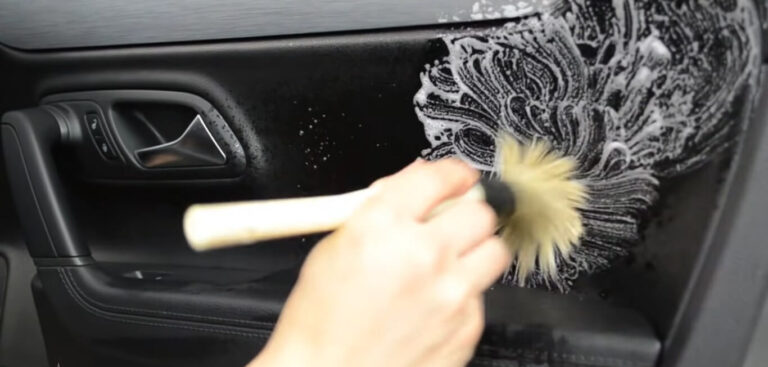
Mix water and all-purpose cleaner at the recommended ratio and spray the surface you are working on. To avoid fatigue, I prefer using a pressure sprayer.

Brush the surface in a hash pattern, this pattern is very effective at loosening the dirt on the surface. To make it easier to brush a drill and a brush attachment will come in handy as a lot of effort is needed to clean the entire car.
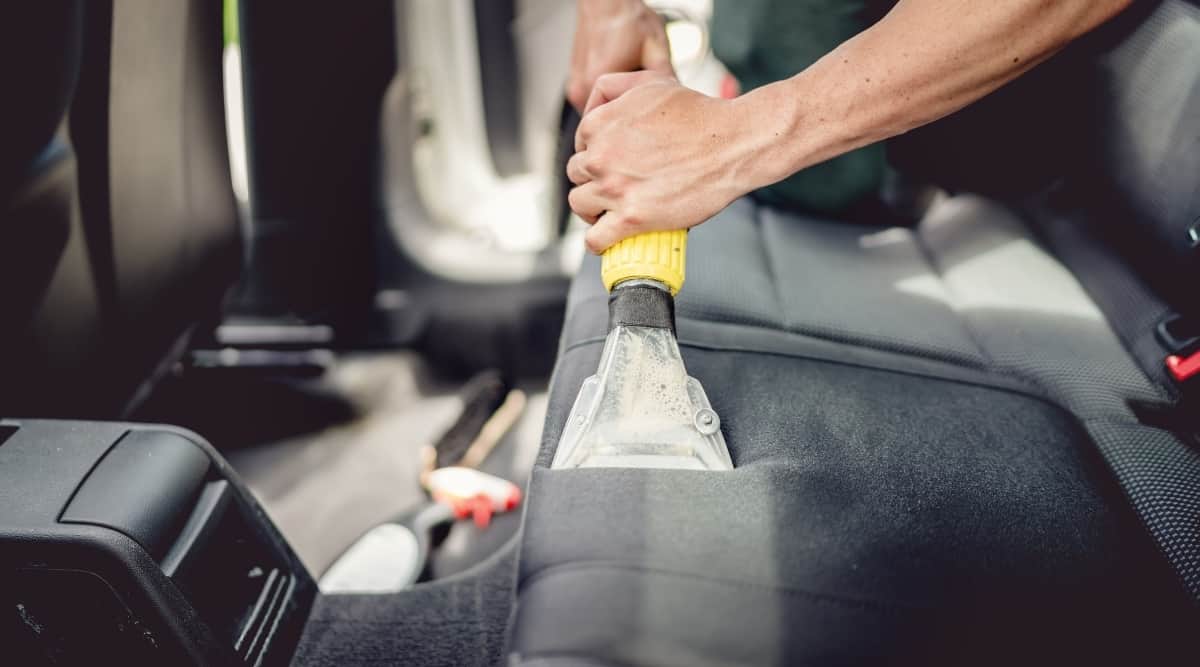
Step 5
Extract all the dirt using a spot cleaner or professional extractor depending on what is available. Cleat all the moisture till none is left on the surface.

Take note of the color of the extracted water, if it is still dirty repeat Steps 4 and 5 till it becomes clear. This confirms the surface is clean and you can proceed to the next area.
Step 6
Once all the moisture is extracted and the seat is clean wipe the surface with a dry clean towel to remove excessive moisture. This is done to accelerate the drying process.
When all areas are done leave the car doors open to aerate the car. The drying time should take a few hours.
When dry check all the surfaces by touch, to confirm all the surfaces are dry. Pay extra attention to joints because they take longer.
Step 7
When the seats are dry one would presume that the job is done, but with today’s advancements in technology, it is best to apply a repellant that will make it easier to maintain and clean in the future.
Seat covers are another option but the majority of them do not fit as they should and the materials do not feel as premium as the seat itself, hence I would recommend the repellant instead.