Analysis of the 3M headlight restoration kit
Table of Contents
Introduction
3M is renowned for making great products, so there is a great expectation for the performance of their headlight restoration kit, let us examine it.
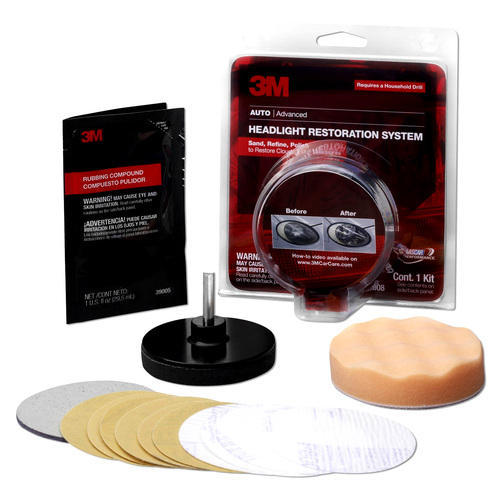
The kits come in a good-looking package. It contains:
- Rubbing compound
- Polishing pad
- Six pieces of 500 grit sandpaper discs
- Four pieces of 800 grit sandpaper discs
- One piece of 3000 sandpaper
- One-piece disc pad holder
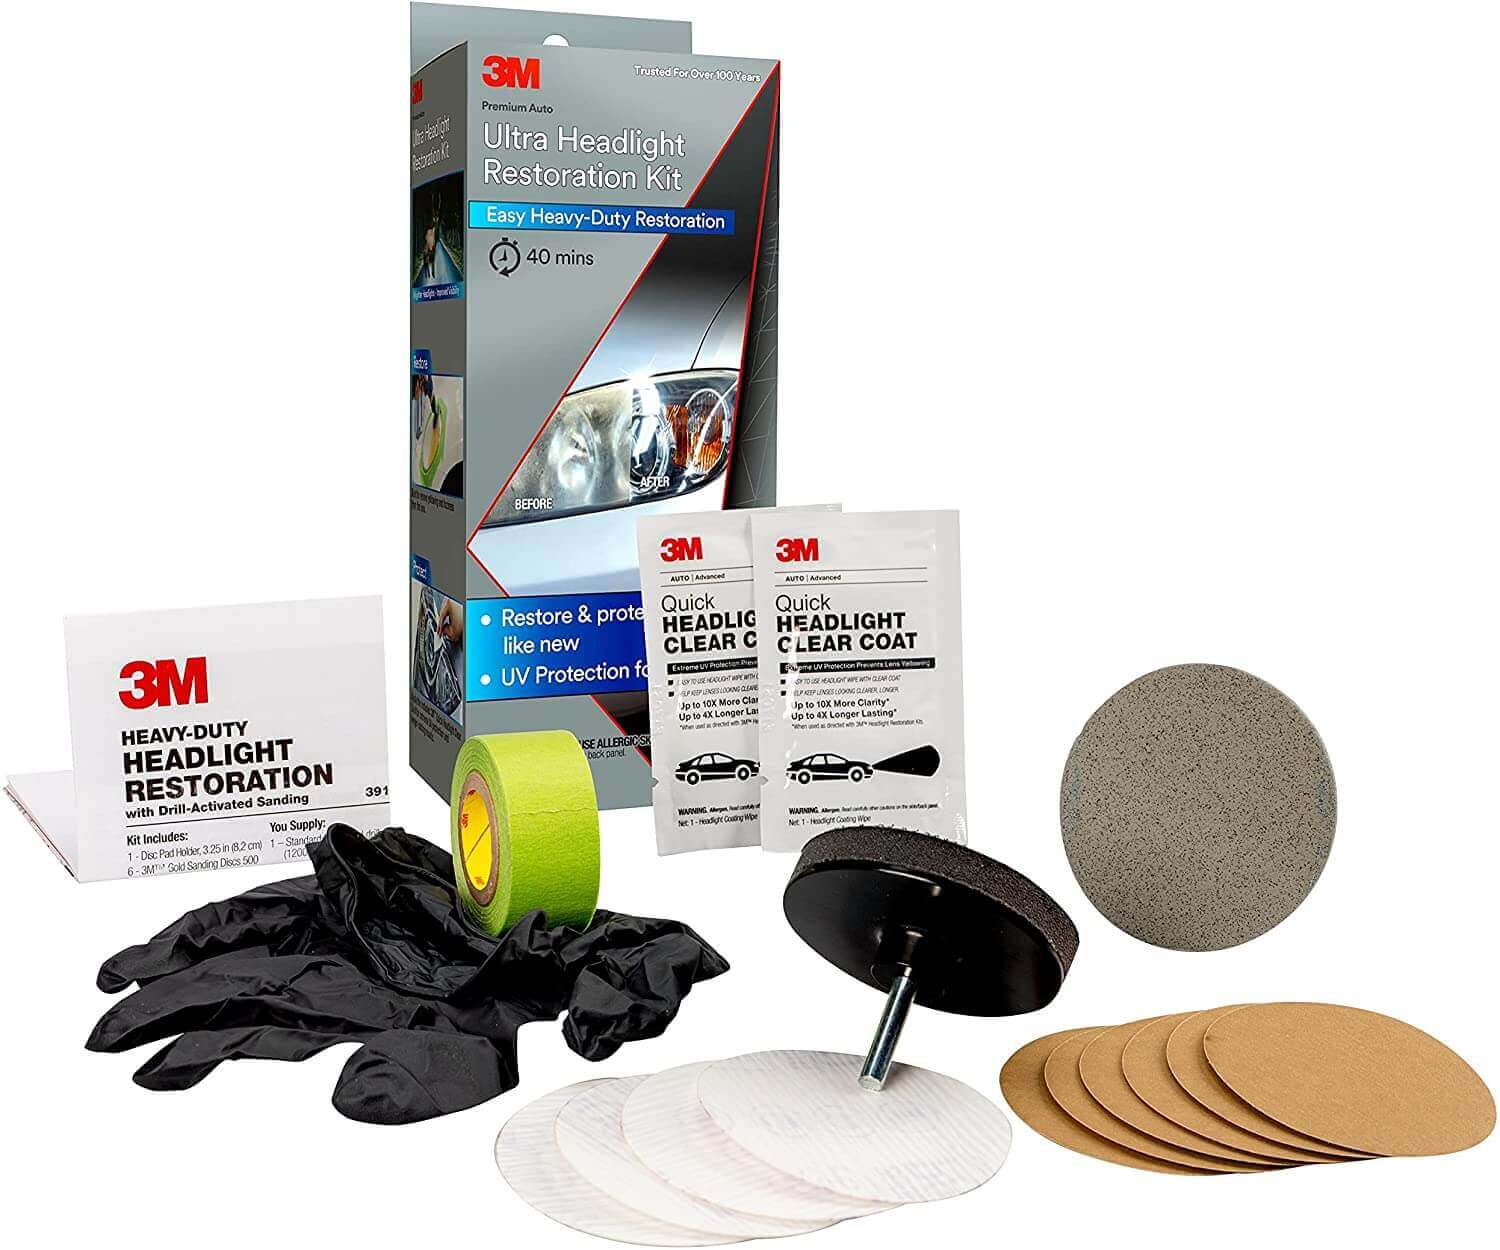
The kit will not be enough to get the job done. You will also need the following:
- Masking or painters tape
- Sprayer with water
- Two wiping towels
- Safety glasses
Once all these are in place, we can restore the headlights.
Restoration process
Step 1
We will begin by opening the bonnet/hood of the car. It is easier to work on the headlight with the bonnet open. Tape the body-painted area around the headlight to avoid damage by sanding the paint.
Once done, we will now proceed to buff the headlights. First, attach the drill pad securely. It should be noted that there is also a 3M kit that does not require a drill and can be used by hand.
Before sanding, put on safety glasses to protect your eyes from the sanding dust. Clean the headlight with water and a towel to get rid of dirt.
Step 2
Take a 500-grit sanding disk and attach it to the disk pad. Put the speed setting to around 1200 rpm or the slow speed setting. When sanding, place the pad lightly on the headlight. There is no need for pressure as the drill, and the pad will do the job effectively
While on, sand the headlight with consistent motions in a crisscross pattern. Do not hold the drill in one area because the heat from sanding will melt the plastic, causing damage to the headlight.
3M sanding disks are some of the best, and residue should come off immediately without clogging the sandpaper. Wipe off the residue to check for consistency in the sanding. If there are patches, continue sanding until the headlight is uniformly hazy.
Step 3
Once the headlight looks evenly sanded, remove the 500-grit sandpaper and attach the 800-grit sandpaper. The objective is to reduce the 500-grit sanding marks to 800-grit marks. Begin with a clean surface and repeat the process as done with the 500-grit sandpaper. Ensure that the surface is even and there are no deep scratch marks.
Once done with the 800-grit sandpaper, proceed to the 3000-grit pad. Ensure the surface is wiped clean to avoid clogging. For the 3000-grit sandpaper, the process will require wet sanding. Spray water on the pad and the headlight. Continue to sand the headlight as done with the two previous stages.
By now, the headlight should be getting clear. Ensure all the heavy sanding marks are removed, and the headlight is uniformly finished.
Step 3
This last stage involves using the foam pad for the final finish. Working on a clean surface, apply the compound to the pad. Dab the compound evenly and commence to polish. As you polish, ensure the surface is completely clear and no scratch marks are visible. If scratches are visible, repeat the process until the headlight is completely clear.
The headlight is now fully restored. Wipe the surface with a clean cloth and remove the tape around the headlight.
Verdict
The 3M kit is very good at restoring headlights. Its main drawback is that it does not have protection. This means that you might have to repeat the process after some months; to avoid this, you can buy a headlight sealant to protect the headlight from UV rays.
The other alternative is to buy a kit that has a protective coat inside, such as the Sylvania restoration kit.