The best performing headlight restoration kits
There are many kits available today but not all are made the same. As a professional in headlight restoration, these are the main attributes that should be considered when buying a kit:
- A kit should be well packaged so that no additional equipment should be bought
- I must have covered all the essential stages which are sanding, restoration, and protection.
- The results must last at least a year
Table of Contents
Best Kit Overall
Sylvania headlight restoration kit comes with everything you would need to restore a headlight, gloves, sandpaper, clear coat, and a lot more. The sandpaper starts from 400 grit which will remove heavy oxidation from headlights.
The UV clear coat offers great protection and dries up fast enough. This kit offers great results and the headlights look as good as new


The best kit without a sealant or UV protector
The 3M restoration kit works great and does a fantastic job of restoring headlights. The sandpaper used is the best in the business and is very effective at removing residue and restoring the headlight.

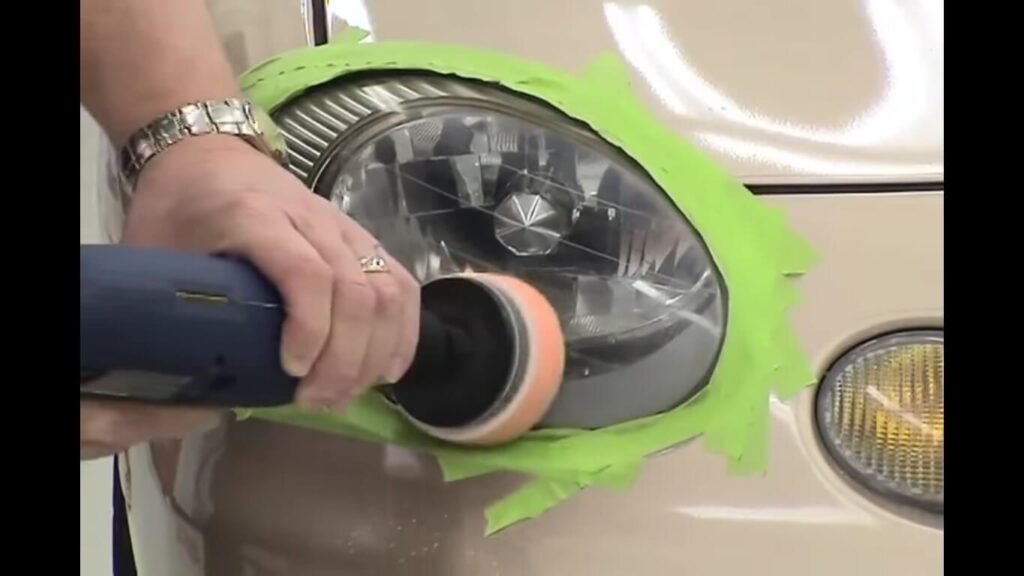

It is important to note that a drill is used for this kit and might not be suitable if none is available to the user.
The main downside to this kit is that there is no sealant or UV clear coat provided; you might need to buy one to maintain the new look for as long as possible.
While there are other options available these are the best two, they provide the best value for your money and the results are guaranteed given that the instructions are followed as advised. Other kits available are either similar to the 3M or Sylvania but their performance is slightly inferior hence presenting the best option.
Some kits offer wipes as a solution, and while that may be easier to use and give immediate results, not enough preparation (sanding or polishing) is done. This means that not all oxidation has been removed and the results will not be as good as they can be. Wipes also offer little protection compared to the liquid provided by the Sylvania kit.
Best DIY Kit
There is an option to buy the basic requirements needed to do the job and restore your headlights rather than buying a kit. This allows you to restore more than one set of vehicles and can be stored to be used later when the headlights fade again. It also gives you more value for your cash.
Requirements
- Masking tape
- Sandpaper
- Clear coat
- Cleaning cloth
- Water or spray bottle with water
- Polythene covers or Brown covers
- Isopropyl or rubbing alcohol
Step 1
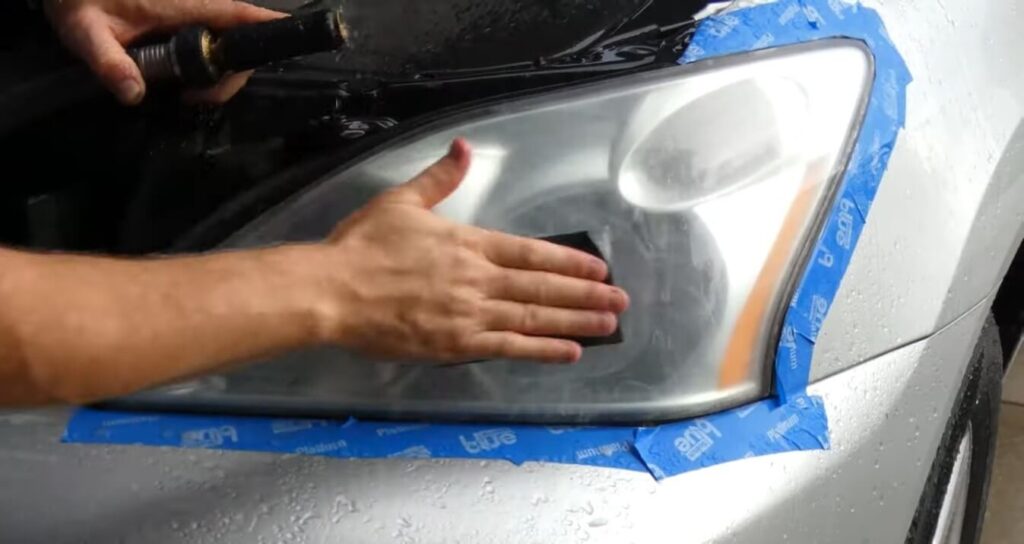
Apply the tape around the lens so as not to scratch the body paint. Clean the headlight lens to remove dirt, then wipe it with a clean cloth.
Step 2
Get the 400-grit sandpaper and begin sanding the lens. Ensure the surface is wet or dip the sandpaper in water. This prevents residue from clogging the sandpaper.
Sand the headlight in a crisscross pattern, beginning with horizontal strokes and then switching to vertical strokes. This is done to even out the scratches and avoid deep marks on the lens. Initially, the residue will be yellowish, this indicates that the oxidation is being removed. When the residue is white it shows that the oxidation is completely off and you are working on the lens.
Wipe down the residue and check for an even haze on the headlight and move on to the next sandpaper.
Step 3
Repeat the sanding as described in step 2 using the 600, 1500, and 2500 grit sandpaper. Once done the headlight should be more clear than when you began.
Clean the lens, remove the tape, and wipe the surface dry.
Step 4
Take the covers and protect the rest of the car or surrounding areas leaving the headlight lens exposed. This protects the car from overspray which might damage the paint.
Step 5
Apply some rubbing alcohol on a clean towel and wipe the headlight. This is done to clear any impurities on the headlight which affect the finish of the clear coat.
Step 6
Spray a light coat of the clear coat first, wait for 10 minutes, then spray the first heavy coat in overlapping motions of half the previous coat. Once done, wait for another 10 minutes and spray the final coat. Leave the headlight to cure for 24 hours. If a heat gun is available, use it on each headlight for 15 minutes; this helps dry the headlight quickly.