Cerakote headlight kit evaluation
Introduction
When buying restoration kits it is always important to discern why headlights need to be restored in the first place. Headlights get blemished because of the Sun, its UV rays react with the lens forming a yellowish layer. This coat prevents the headlight from performing optimally and harms the aesthetics as well.
Restoring a headlight requires repairing the damage and protecting the headlight. In this case, we shall be looking at how to restore headlights using the Cerakote ceramic kit.
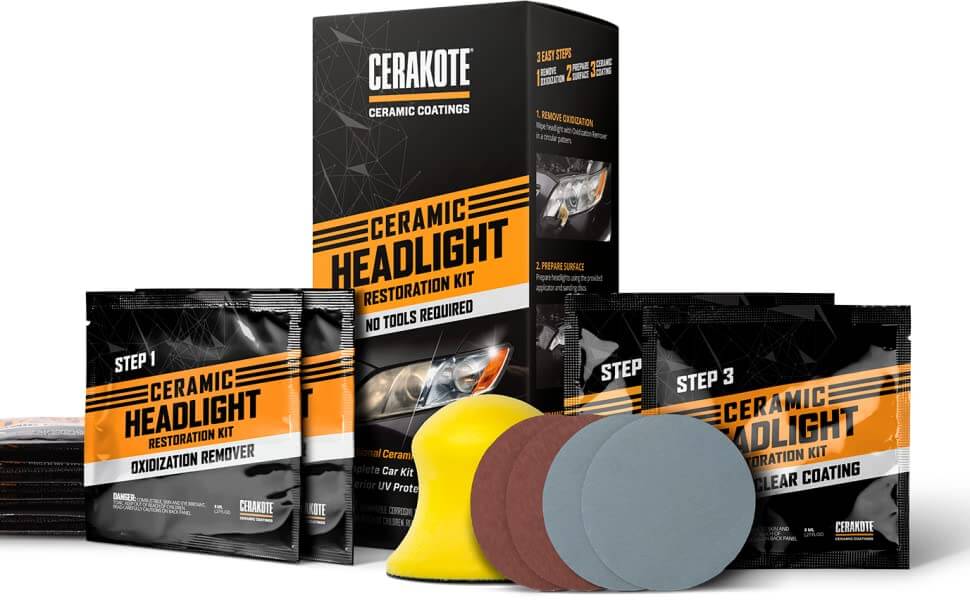
The package contains:
- Eight packets of oxidation remover
- Four packets of ceramic clear coat
- One handheld sanding tool
- Four sanding disks
- Four nitrile gloves

Step 1
While not included in the kit, we will need to tape the edges surrounding the headlight. This is to protect the paint from any damage, so ensure that you have painters or masking tape.
Put on the nitrile gloves and ensure the headlight is clean to work on. Ensure that the surface is dry before heading to the next stage. Wipe with a clean towel if necessary.
Step 2
Open the oxidation remover wipes and work on the headlight lens. The wipes will begin changing color. This is because oxidation is being wiped from the surface. When fully clogged, change the side of the wipes. Do this repeatedly until the whole wipe is not usable. There are eight wipes so each headlight can use four wipes.
If the headlight is still oxidized, do not worry the next step will get rid of the remaining bit. Rinse the headlight thoroughly and dry the surface before proceeding to the next step.
Step 3
Take the palm sanding tool and attach the red/ 2000 grit sandpaper. Wet the sandpaper and the headlight and begin to sand the headlight in a crisscross pattern, horizontally first, then vertically. If the tool cannot reach all surfaces, remove the disk and finish it up by hand.
Ensure that the surface and the sandpaper are always wet to allow the residue not to clog up the sandpaper. Sand the headlight until there is a uniform finish. If patches are visible, ensure to work on them before proceeding to the next stage.
Clean the headlight and proceed to the next stage using grey sandpaper instead. Repeat the process above. When done, the headlight should be clearer.
Step 4
This is the final step to ensure that the headlight is completely clean and dry.
Open the ceramic clear coat wipes and apply them to the headlight in a horizontal motion from end to end. Ensure that the whole headlight surface is covered. Only one coat is necessary. Let the headlight cure for sixty minutes minimum before touching the surface. Finally, the process is done, and the headlights are restored.
Summary
The Cerakote kit does a good job of restoring headlights. It has the correction stage where we sand the headlight. It also has the protection stage where we apply the ceramic clear coat.
It is a good DIY kit because no power tools are required.
However, it does not apply enough protective coating on the headlight, this is because of using wipes instead of the clear coat liquid so the results might not last long. The clear coat is applied by hand, so the finish might not be as good as when spraying the headlight. The sanding techniques could be advanced because the 2000-grit sandpaper might not be sufficient for heavily oxidized headlights.