Rust-Oleum headlight wipes scrutiny
Rust-Oleum is a reputable company making paint and protective coating since 1921. Let’s look at their Wipe New headlight restoration kit. The kit includes the following:
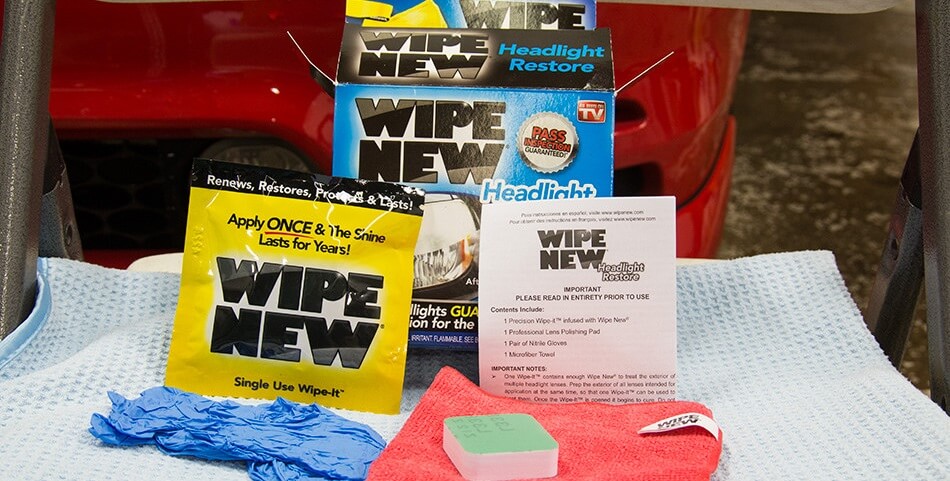
- Pair of gloves
- Wipe it towelette
- Sanding disk
- Microfibre towel
You will also need the following:
- Masking tape
- Water
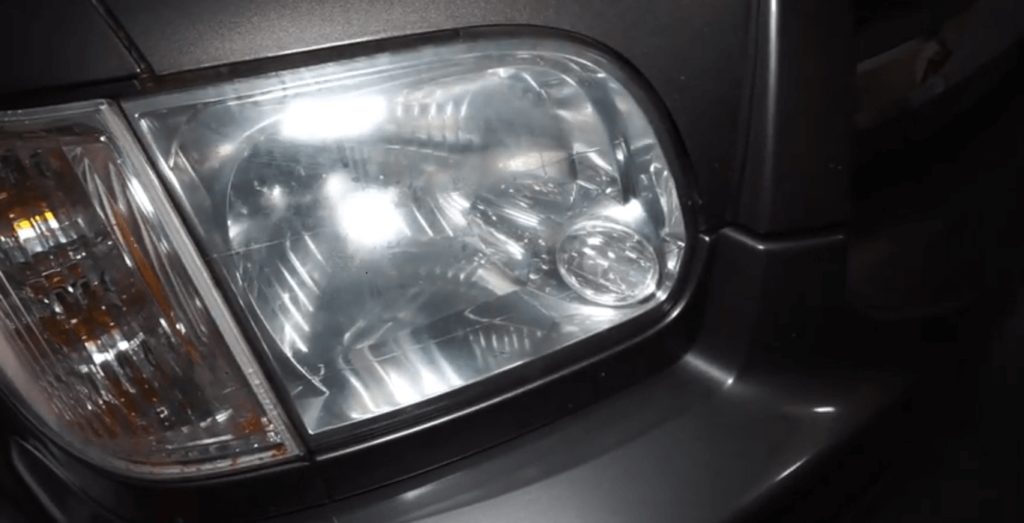
Step 1
Take the masking tape and taper the painted areas and trim surrounding the headlight. This is done to prevent damage to the paint.
Step 2
Clean the headlight of dirt and debris. Wet the headlight lens and the sanding disk and begin to work on the lens using the green/2000-grit surface first. Sand the entire lens and ensure the entire headlight is evenly hazy. To get the best result sand in one direction(horizontally) first then repeat while sanding in the opposite direction (vertically).
Step 3
Switch to the grey/3000-grit side and repeat the same process as with the 2000-grit. When done wipe the headlight clean and ensure it is completely dry. Do the same in steps 1 and 2 for the other headlight.
Step 4
Put on gloves and open the wipe-it sachet and apply the coat on the headlight using the wipe. Apply evenly and ensure the entire lens is covered. Avoid moisture for 24 hours to aid the curing process.

Summary
The rust-oleum kit is simple and easy to use and offers protection against UV light. The drawbacks include the following:
- The sanding disks are not adequate for restoration
- The ceramic wipes turn the headlight hazy when they begin to dry up
Rust-Oleum wipe new kit does not perform as well as it should and you would be better off with more advanced kits.