Sylvania kit performance rating
The Sylvania headlight restoration kit is one of the many kits advertised to restore your headlights. In this review, we are going to look at its performance and final results.

The kit contains:
- One surface activator
- 1 UV block clear coat
- Two polish cloths
- One vinyl glove
- Clarifying compound
- Sandpaper 400 grit, 1000 grit, and 2000 grit
You will also need
- Masking tape or painter’s tape
- Spray bottle or bucket of water
- Drying towel
Table of Contents
Step 1
Ensure that the headlight is clean and dry before working on it; if not, wash the headlight with water and soap and dry it with a towel. Spray the surface activator on the entire headlight, let it soak for about 30 seconds, and then wipe it with a towel.

Step 2
Tape the edges around the headlight. This is to avoid damaging the paint while sanding.
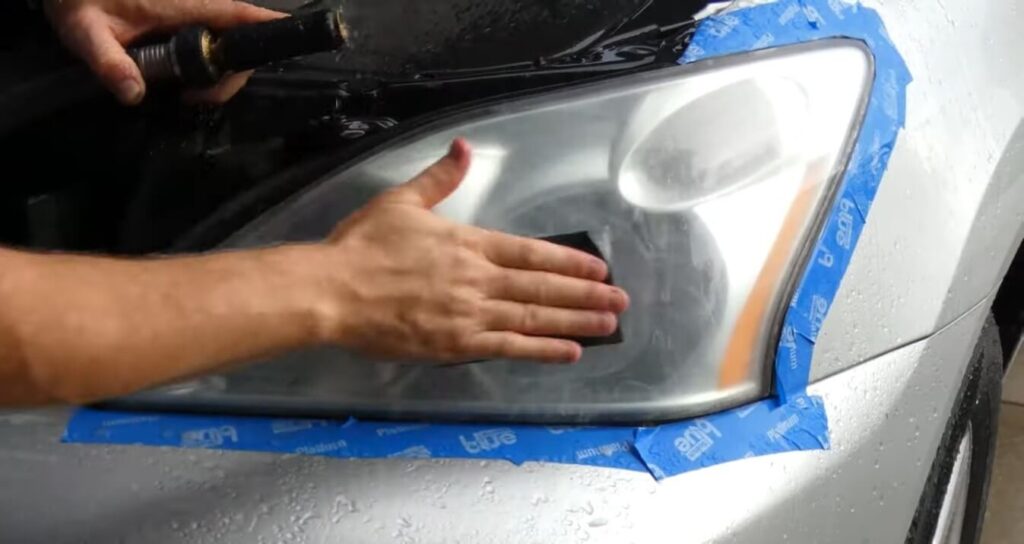
Step 3
Fold each sheet into two halves and use one half for sanding each headlight. We begin with the 400-grit sandpaper. Wet the headlight and the sandpaper. Sand the headlight in one direction, then change the sanding direction in a crisscross pattern. A yellow residue should be coming off. The oxidation is coming off; it should change to a white residue.
Ensure that there is enough water during sanding to avoid clogging. Ensure that there are no patches and that the headlight is completely uniform. If not, repeat the process until the desired result is achieved.
Wipe the headlight and proceed to the next stage.
Step 4
Sand the headlight using the same technique as step 3 with the 1000-grit and the 2000-grit sandpaper. With both sandpapers, the objective is to smooth out the sanding marks caused by the previous sandpaper. While sanding, ensure that the surface is smooth and the finish is uniform, and proceed to the next stage. Once done with sanding, wipe the surface clean.
Step 5
Apply the clarifying compound on the towel provided with the kit and coat evenly across the headlight surface. Apply light pressure and rub the entire headlight in a circular motion. Work the compound until the headlight clears. This further refines the finish on the surface, and the headlight will begin to become apparent. If you are still dissatisfied with the outcome redo the procedure to your satisfaction. Always leave the surface clean for the next stage.
Step 6
Apply the surface activator to the headlight on a clean and dry surface. Allow to sit for 30 seconds and rinse off or wipe with a dry towel.

Step 7
Put on the glove provided and take the blue towel. Apply the UV clear coat on the folded edge of the towel. Soak the edge of the towel and apply it to the headlight with a side-to-side motion; overlap the strokes slightly. Ensure the whole headlight is covered, including the edges.
Step 8
Once done, remove the surrounding tape and allow the headlight to dry for 1 hour. It might take 4 to 6 hours to fully cure it, so do not wash the car or touch the headlight. When fully cured, proceed to use the car as normal and wash it if necessary.
Summary
Of all the kits available this comes at the top. This is because the sandpapers provided are adequate to do the job and cover enough stages to smoothen the sanding marks finalized by the clarifying compound. The surface activator aids in the adhesion of the clear coat and gets rid of oils in the compound.
Unlike other kits, the clear coat provided by Sylvania is in liquid form rather than wipes which provides a thick layer of protection and will last long. If you are considering a kit this should be at the top of your list.
Disadvantages
- The kit is need time to cure so the car cannot be used immediately.
- The headlights will fade after a year, but it all comes down to maintenance and how the car is exposed to the Sun.