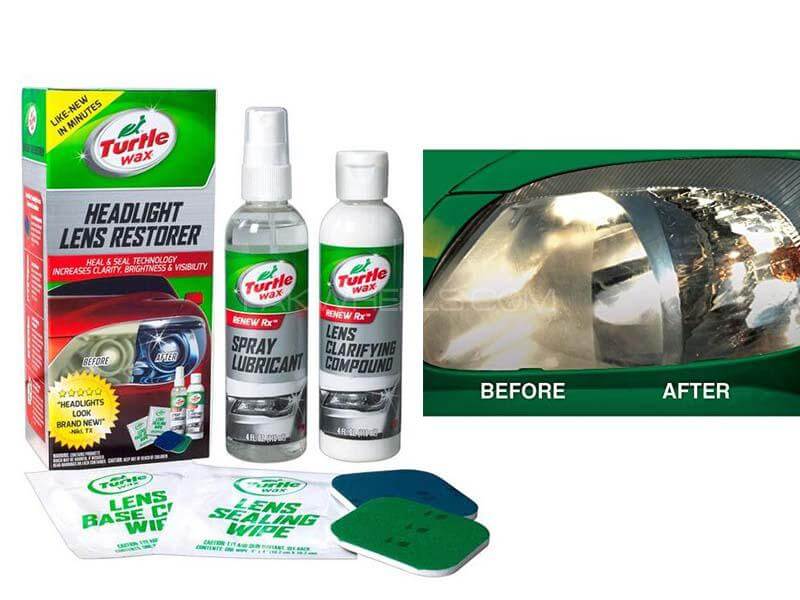
Turtle wax headlight kit efficacy
Introduction
We use kits as a way of getting our headlights new again. Most of these kits are made by car care companies to deal with oxidation which makes the headlights look dull. Oxidation is formed when the Sun’s UV rays break down the plastic lens on the headlight.
Turtle wax is a reputable brand in the car care industry, their kit is well known and we shall be reviewing the package and the performance of their headlight restoration kit.
Inside the kit you’ll find:
- 3 restoration pads with a different grit of sandpaper from 2400 to 3000 grit
- Lens basecoat and lens sealing wipe
- Spray lubricant
- Lens clarifying compound
Step 1
Clean the lens surface first with water and wipe it with a clean towel. Tape the surrounding areas of the headlight with tape to prevent damage to the paint’s surface.
Step 2
We begin with the clarifying compound to test the level of oxidation.
Apply the compound to a towel and spread it on the lens evenly. With pressure rub the lens to begin removing scratches and making the lens clear again. Work on the lens until the compound is finished. Wipe with a towel and check the results. If the lens is clear, skip the sanding stage and apply the wipes; if not, sand the headlight.
Step 3
Spray the headlight and the green pad with a spray lubricant. With pressure, sand the headlight in a hash pattern, beginning with horizontal and then vertical. Work on the entire lens; always ensure that there is always moisture/spray lubricant to remove the residue effectively.
Once done with the green side of the pad, switch to the tan side and repeat the same process. When working with different sandpaper, always begin with a clean surface.
Step 4
Continue sanding the surface, only this time use the teal side of the sanding pad. Repeat the process in step 3 and ensure that the headlight is always uniformly hazy when done. Switch to the purple side of the pad and repeat the process.
Step 5
Wipe the headlight clean with the lubricant spray and a towel. Apply the clarifying compound on a towel and work on the lens. Rub it thoroughly until the lens becomes clear. The headlight should be clear and ready to finish off the process by now. The clarifying compound can also be worked on with a polishing machine at 1500rpm.
Step 6
Clean the headlight with the clarifying product to ensure no residue on the surface. Wipe with the lens base coat wipes. Use gloves when applying the wipes. When dry, we proceed to apply the lens sealant wipe. The headlight should now be completely clear, looking brand new again.
Leave the headlight to cure for 24 hours, using the car is permitted as long as you do not wash it or touch the headlight.

Summary
The turtle wax headlight restoration kit is holistic in its approach; it corrects, restores, and protects the headlight.
Its main drawbacks include:
- The sanding disks are too soft and small to do the job effectively compared to other kits.
- The wipes do not provide enough protection, and the results will not last.
