Headlight Restoration Tools
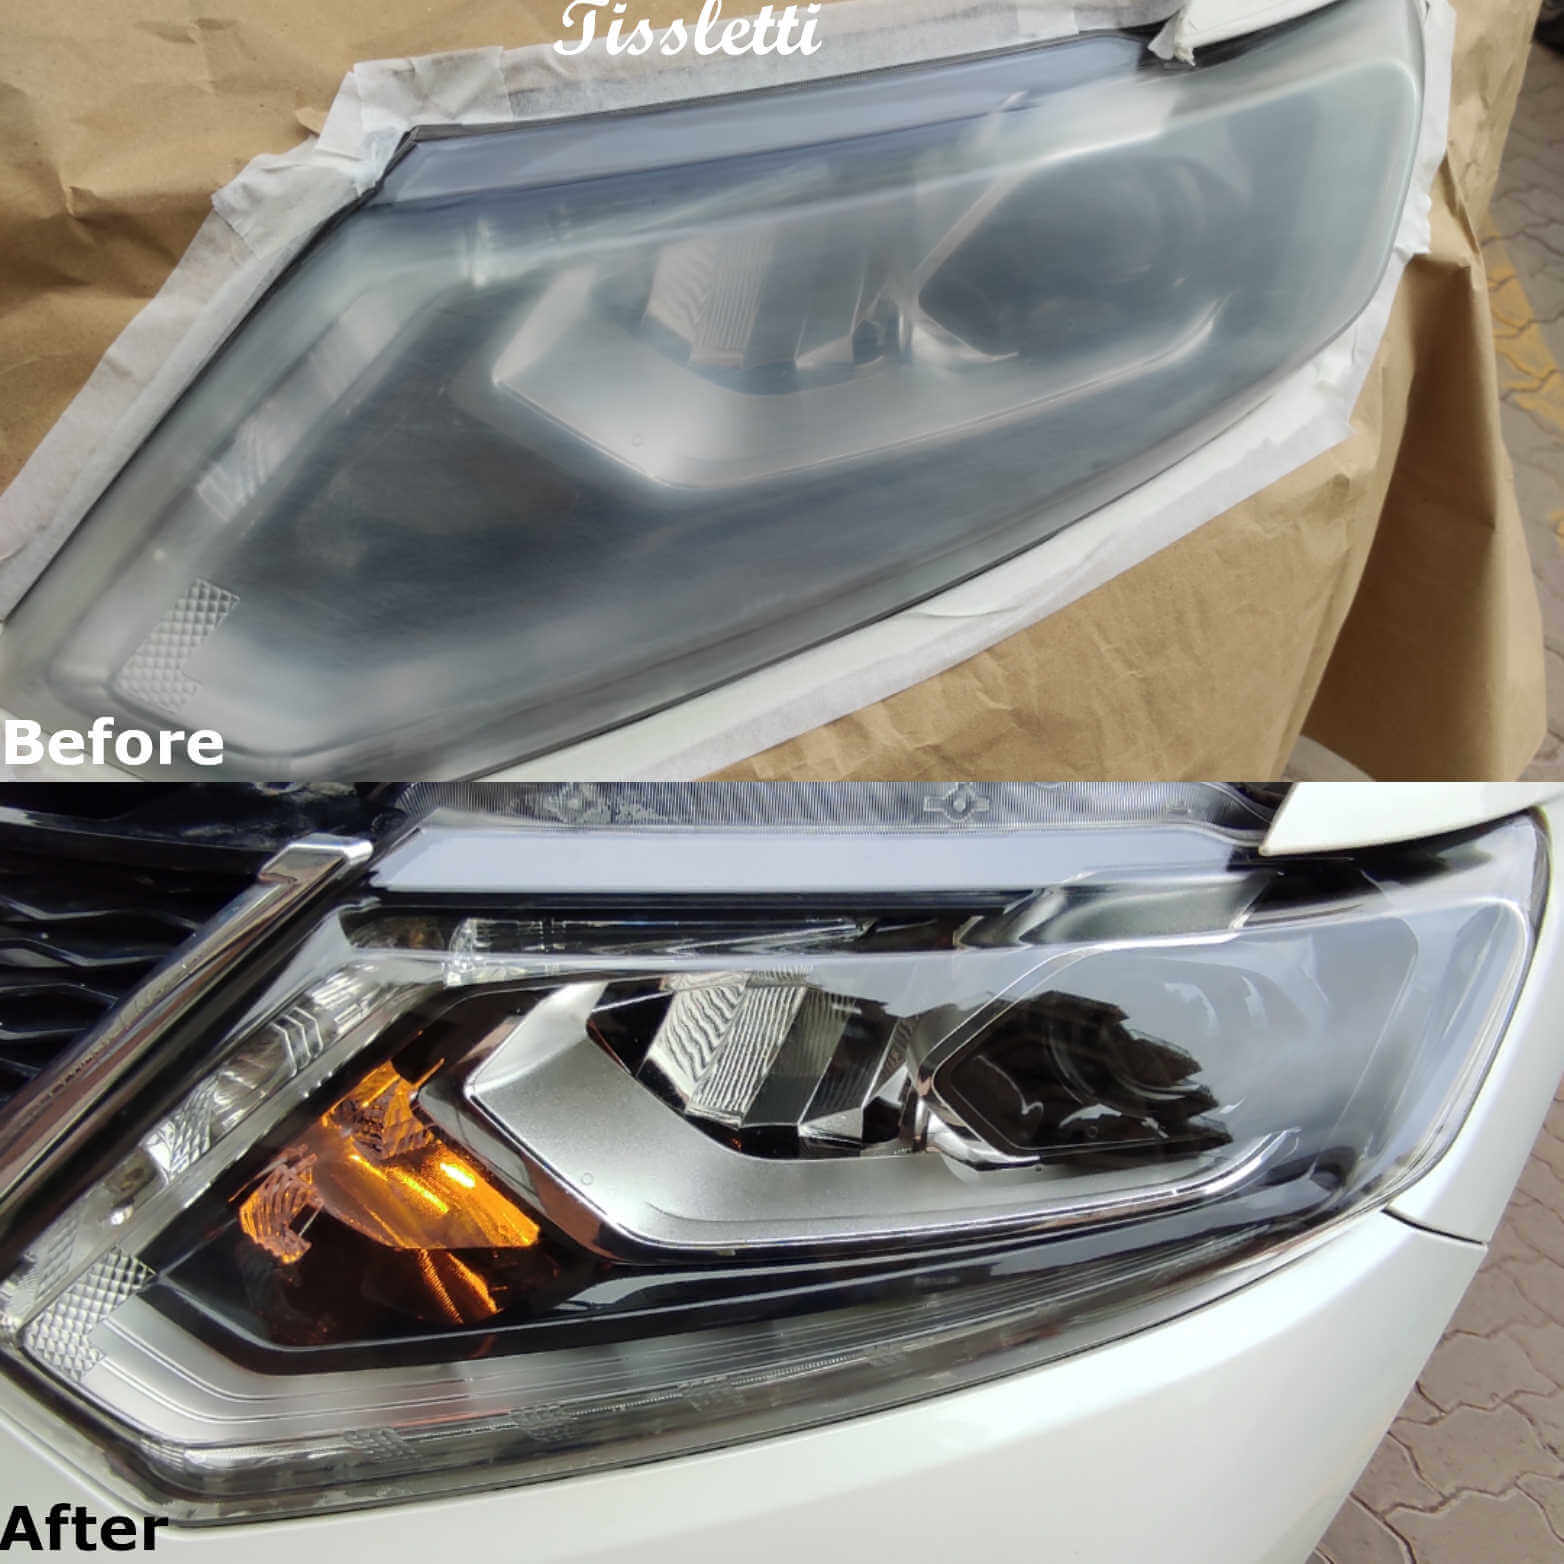
According to a study by the AAA in 2018, foggy headlights reduce visibility by 80 percent. As a result, driving at night can prove difficult and sometimes dangerous. The research also found that using a kit can restore up to 70 percent of your visibility and can ultimately be restored to 100 percent by using professionals or replacing the headlights with new ones.
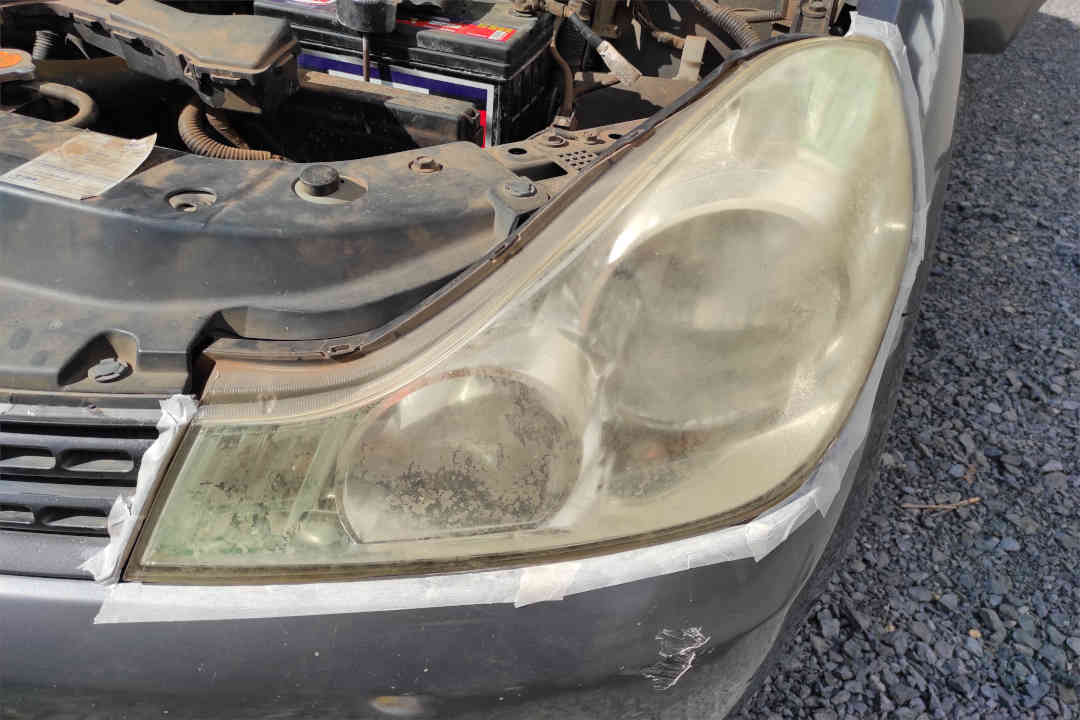
Headlight fading is caused by the sun degrading the plastic lens of the headlight., While something might seem wrong with the bulb, most of the problem lies with the lens.
Headlight restoration can be effective and economical compared to buying new ones.
DIY restoration kits
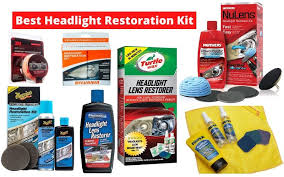
These are packaged products that are inexpensive and can be bought locally. They are easy to use and are a fast way to get your headlights new again. Please note that not all kits are made the same, so please look at reviews and videos on the performance of the kit. Here are our reviews and recommendations.
Professional headlight restoration tools
To get your headlights as good as new repairing and protecting the lens are crucial steps to headlight restoration.
What is needed?
- Masking tape
- Bucket
- Microfibre towels
- Sandpaper
- Plastic sheeting
- Mask
- 2K clear coat spray can
- Rubbing alcohol
- Heat gun
Step 1
Tape the painted area around the lens to prevent scratching the paint. Wipe the headlight of dirt and debris with clean water and a microfibre towel.
Step 2
Fill the bucket with water and begin sanding the lens starting with 400 grit, then 600, and finally 1500. Sanding requires constant pressure and thoroughness. Essure the entire lens is worked on and change the sanding pattern to avoid deep scratches. The best practice is to sand the lens in a hash pattern.
Always ensure the sandpaper is always wet by dipping it in the water to avoid clogging by residue.
Step 3
Once done sanding, wipe the headlight clean and ensure the car is clean as well. Wrap the car with the plastic sheeting and cut out the lens to be worked leaving it exposed. Apple macking tape to secure the plastic sheeting in place.
Step 4
Wipe the lens with a clean towel and rubbing alcohol to get rid of oils and other contaminants. This ensures that the clear coat will adhere to the lens.
Step 5
Put on the mask and protective equipment if necessary and spray the lens with a light coat of the 2K clear coat. Wait for 5 minutes and apply a heavy coat. Let it dry for 10 minutes and apply a second heavy coat.
The headlight is now fully restored and removing the protective equipment, plastic sheeting and other items used can now be removed.
Pro-tip
Use a heat gun on the high setting (400 degrees) on each headlight for 10 minutes to aid in curing the clear coat. To avoid damaging the car and the headlight never point the heat gun at one area consistently, and always ensure the heat gun is always in motion.
Let the clear coat cure for a day and the car can be washed and maintained as usual.