How to Clean and Restore a Car’s Interior Plastic Trim
Interior plastic trim fades because of dirt and sunlight, distinctively UV light. While cleaning and wiping plastic surfaces help keep plastic clean and in better condition, this will not be enough to keep them looking as good as new.
To have interior plastic trim looking great, periodic maintenance is required, at the very least the trim should be cleaned and restored once a year. To do this we will require:
- All-purpose cleaner soap
- Soft bristle brush
- Microfiber towels
- Plastic trim dressing
- Spray bottles
- Blower
- Vacuum


The minimum requirements are an all-purpose cleaner, microfiber towels, spray bottles, plastic trim dressing, and a soft bristle brush which can be substituted with a soft shoe brush and a toothbrush for tight detailed areas.
Table of Contents
Step 1
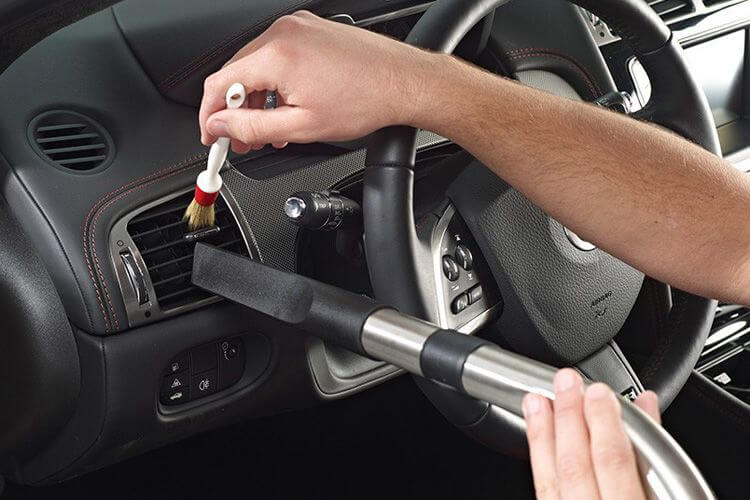
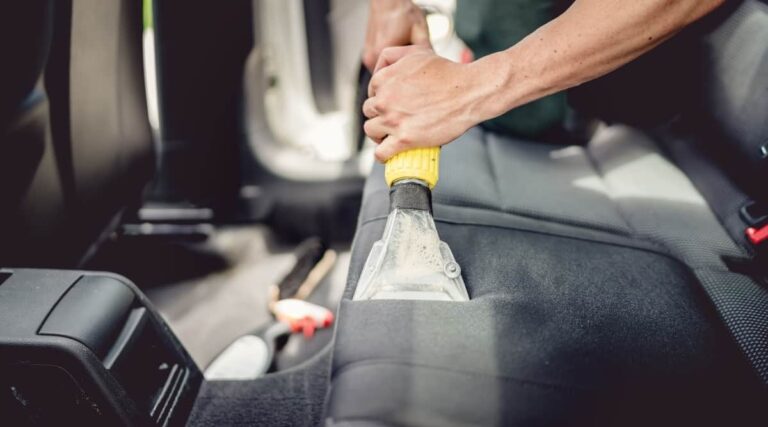
Vacuum the interior, this picks up the majority of the loose debris and dirt. When cleaning plastic trim, I always find it helpful to start with a blower first and then use a vacuum. The blower removes dirt on surfaces and hard-to-reach areas where a vacuum might not reach.
Step 2
Mix the soap (all-purpose cleaner) and water in the spray bottle, mixing 20ml to 50ml of soap with 500ml of water The mixture should easily foam when cleaning the surface.
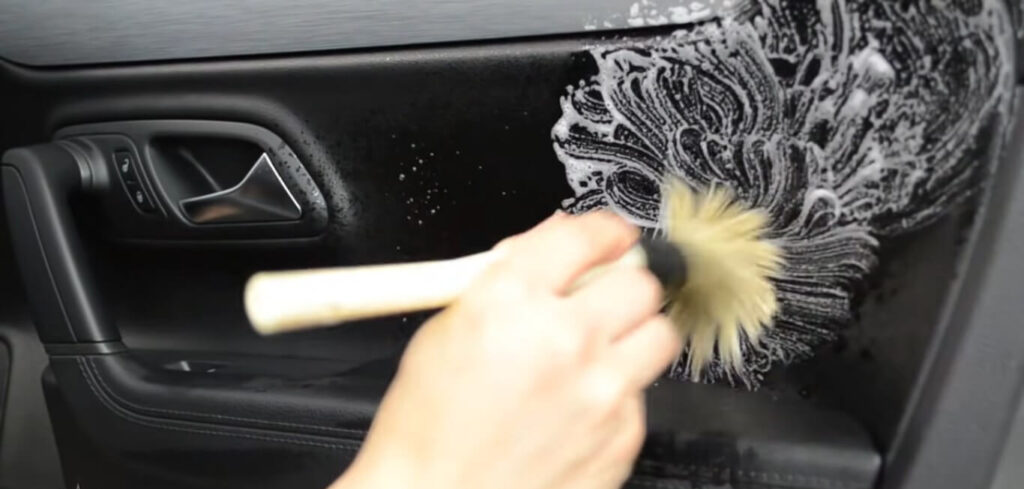
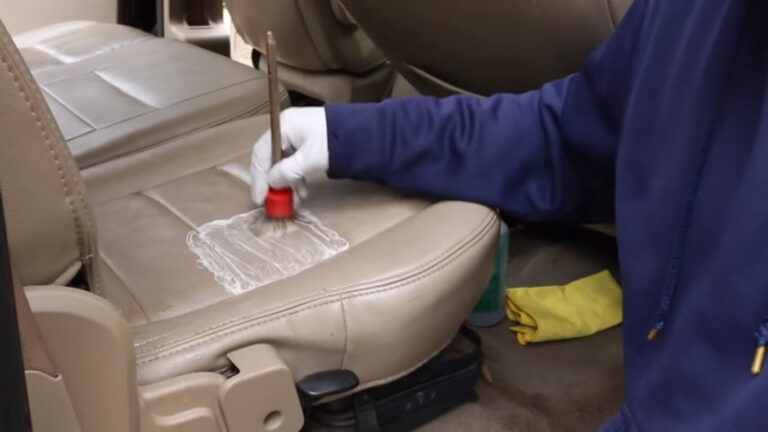
Spray the plastic trim and brush with soap and proceed to agitate the surface. Brush all areas and work on the tight corners as well. Wipe the residue with a towel. Repeat the process till the residue is clean and move on to the next desired area. Repeat this on all plastic trim.
Step 3

After all the plastic has been cleaned and dried we can now proceed to apply the plastic trim restorer, this dressing restores the color of the trim and protects it from UV light. Always spray on the towel and not the plastic or rubber trim, this prevents spillage to other areas and also ensures that the dressing is not wasted.
Apply on plastic and trim, apply twice for adequate protection. Your interior trim is now restored.