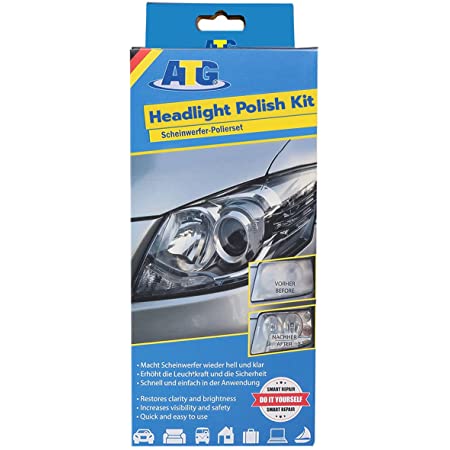
ATG Headlight Restoration Kit Review
The kit contains:
- Polishing paste
- Sandpaper (2 pieces P800, 2 pieces P1200, 2 Pieces P2000)
- Masking tape
- 2 packets of UV protection liquid
- 1 white sponge disk
- 1 white orange sponge polishing disk
- 1 drill attachment
- 1 rotation plate
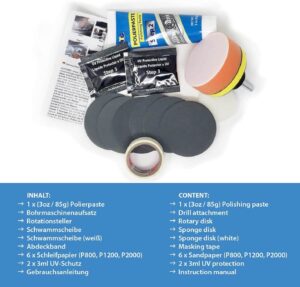
Table of Contents
Step 1
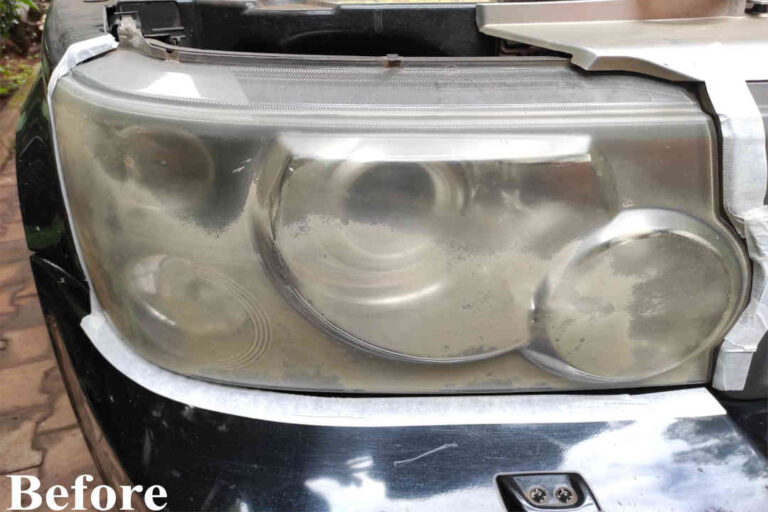
Take the masking tape and apply it around the headlight to prevent the paint from getting damaged while working on the headlight.
Step 2
Take the P800 sanding disk, attach it to the rotation plate, and attach the plate to the drill. Spray water to the headlight surface and the sandpaper and begin sanding. Always ensure enough moisture to prevent residue from clogging the sandpaper.
Sand the headlight until it is uniformly hazy. If pleased with the outcome wipe the headlight clean and advance forward.
Step 3
Repeat step 2 above using the P1200 and the P2000 sandpaper. With each step, the headlight will become more visible.
Step 4
Remove the sandpaper and attach the orange polishing pad. Apply the polishing paste to the pad and spread evenly on the headlight. Begin to polish the headlight and ensure that all areas are worked on. Work on the compound till the headlight is visible. Wipe the headlight, check for sanding marks; repeat the polishing if still visible.
Step 5
Rinse the headlight and wipe it clean. Take the white sponge and apply the UV protection liquid to the headlight. Apply the coating in one direction and ensure the whole surface is covered. Once done, let the coat dry up for 2 to 3 hours. To fully cure, 24 hours is required.
Summary
This German-made kit is holistic, i.e., it covers correction (sanding), restoration(polishing), and protection (UV coat) which means the results will last. The main drawback is that additional tools will be needed, which might not be favorable to some users.