Consider This When Driving after Headlight Restoration
While restoring headlights is a straightforward process there are some instances where extra attention is required to take care of the car after reconditioning. This is true especially when a UV protective coat is applied on headlights.
For most restoration methods, after the job is completed the car can be driven immediately. However, it is important to note that for the advanced techniques there is maintenance required after restoration and one must be careful about how the car is used. To this effect, we will discuss all the techniques used to restore headlights and what maintenance is required.
Table of Contents
Restoration with toothpaste
This is the most basic of headlight restoration techniques. The toothpaste acts as a compound and with the help of a brush, the process acts as an abrasive which breaks down the oxidation on the headlight leaving it much clearer than before. For the desired results please repeat the process severally. Once done, clean up the car and the process is done. Because of the simplicity of the process, no further maintenance is required and the car can be driven immediately after.
Restoration by Polishing
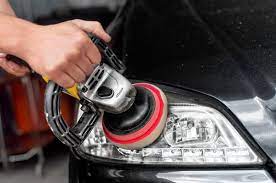
This involves using a polishing machine to restore the headlights. The process begins with sanding down the headlight with different grits of sandpaper. We work our way from the roughest to the smoothest. Finally, we will use the polishing machine to refine the process and the job is done. At this point, one can use the car with no reservations.
If waxes, synthetic sealants or ceramic coats are used then the car can be driven with no worry since most of these dry up immediately after. If a sealant is used, then a time frame of twenty-four hours is required after applying the sealant to aid in curing. You can still drive the car but don’t wash the car or touch the headlights. If possible, just leave the car parked for a day and after that, you can use the car as usual.
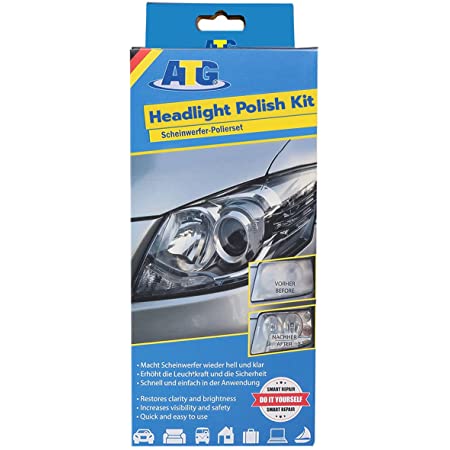
Restoration using kits

There are plenty of options when using headlight restoration kits. You can always look up reviews on the best option and get one for yourself. The logic behind headlight restoration kits is very similar, to make a kit that is easy to use and provides the best possible results. It is always prudent to watch a few videos online first before doing it yourself so as to avoid mistakes.
The majority of the restoration kits have a sealant at the end of the process. All sealants have a curing time (usually 24 hours) which hardens the sealant and protects the headlight from oxidation. You can drive the car after restoration but the car should be washed after a day. If possible, keep the car parked within the curing time. After that, you can proceed to use your vehicle as usual.
Permanent Restoration
This is by far the most advanced technique in headlight restoration. The process involves sanding the headlight at different stages from the roughest to the smoothest. After that we prep the car for spray painting with a clear coat or applying a sealant. Clearcoat provides much higher protection than sealants, as a result, it is much thicker and requires more time to dry. To aid in the curing process we normally use infrared heat after spraying. The time taken is about thirty minutes for both headlights. Using infrared heat is not mandatory, but from experience, it helps a lot with curing and preventing damage from dust and rain.
After using infrared heat, you can now drive the car. The process still requires a curing time of twenty-four hours so if possible park the car until then, if not avoid washing the car when curing. After the curing time has lapsed you can now use the car as usual. In summary, of all the methods discussed only restoration with toothpaste does not require curing hence the car can be driven and used as desired. For the remaining methods, the key thing to note is if sealants have been used in the process, if so then it is important to let the sealant dry within the time frame given. Although there are curing periods that are shorter than twenty-four hours, I would recommend the latter just as a precaution to allow more time for the drying process.